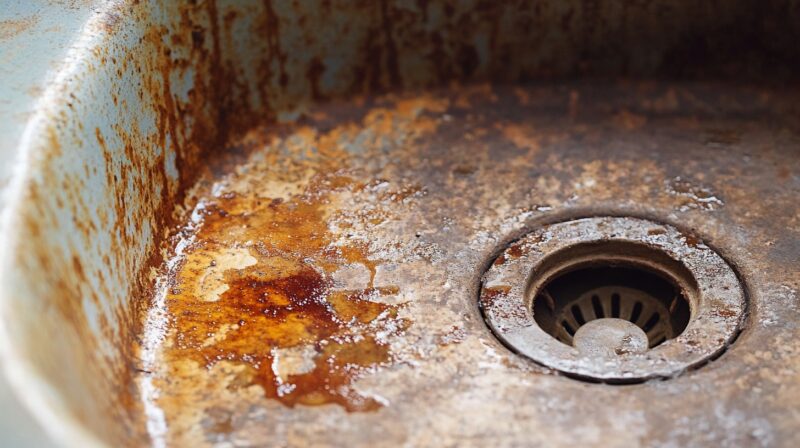
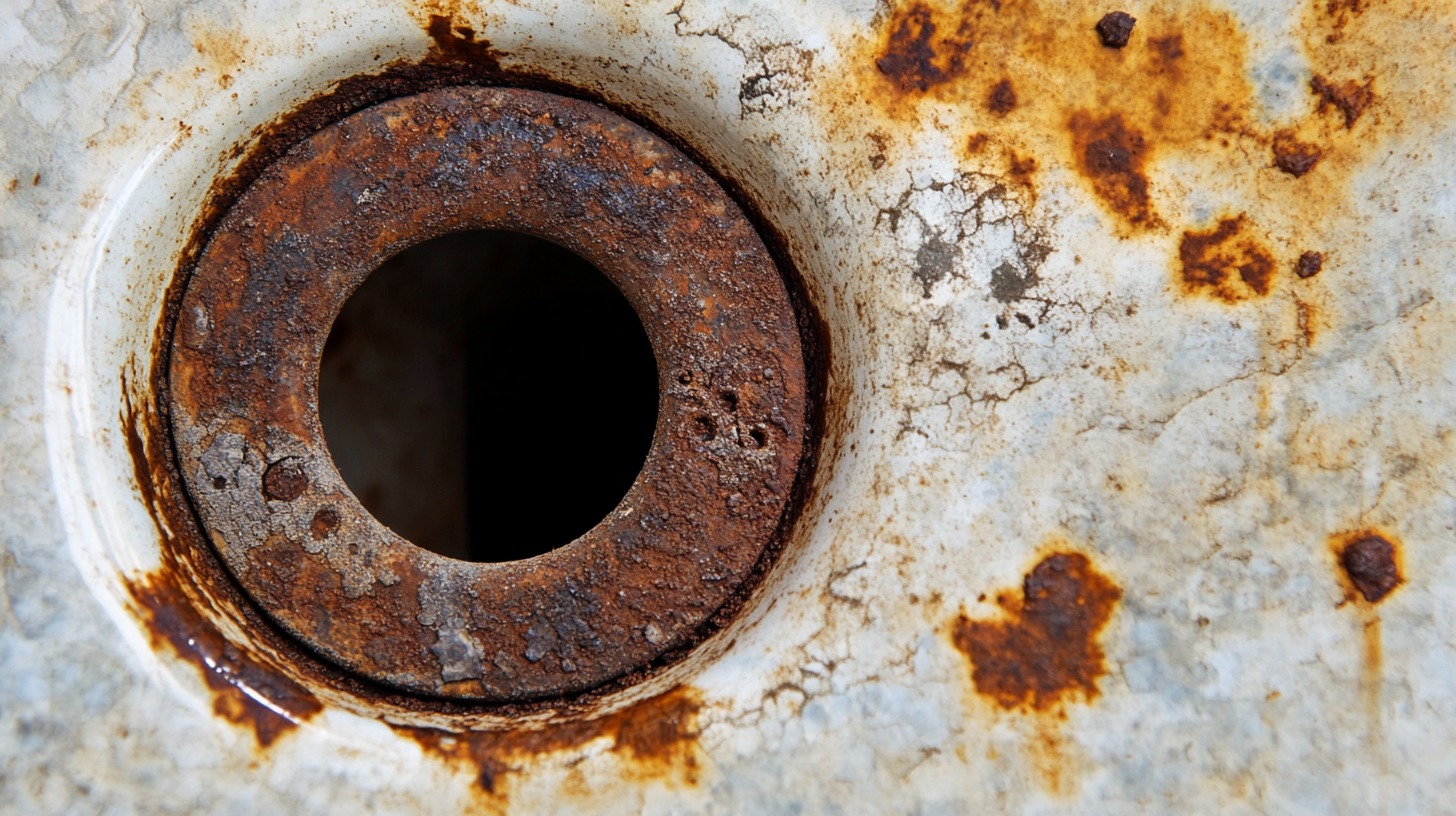
Rust stains in sinks and tubs can be an unsightly problem, diminishing the appearance of your bathroom or kitchen.
While these stains might seem stubborn, they are relatively easy to remove with the right approach.
By using common household items or specialized products, you can quickly restore the shine to your surfaces.
We’ll explore five quick and easy ways to remove rust stains, ensuring your sinks and tubs look as good as new.
1. Lemon and Salt
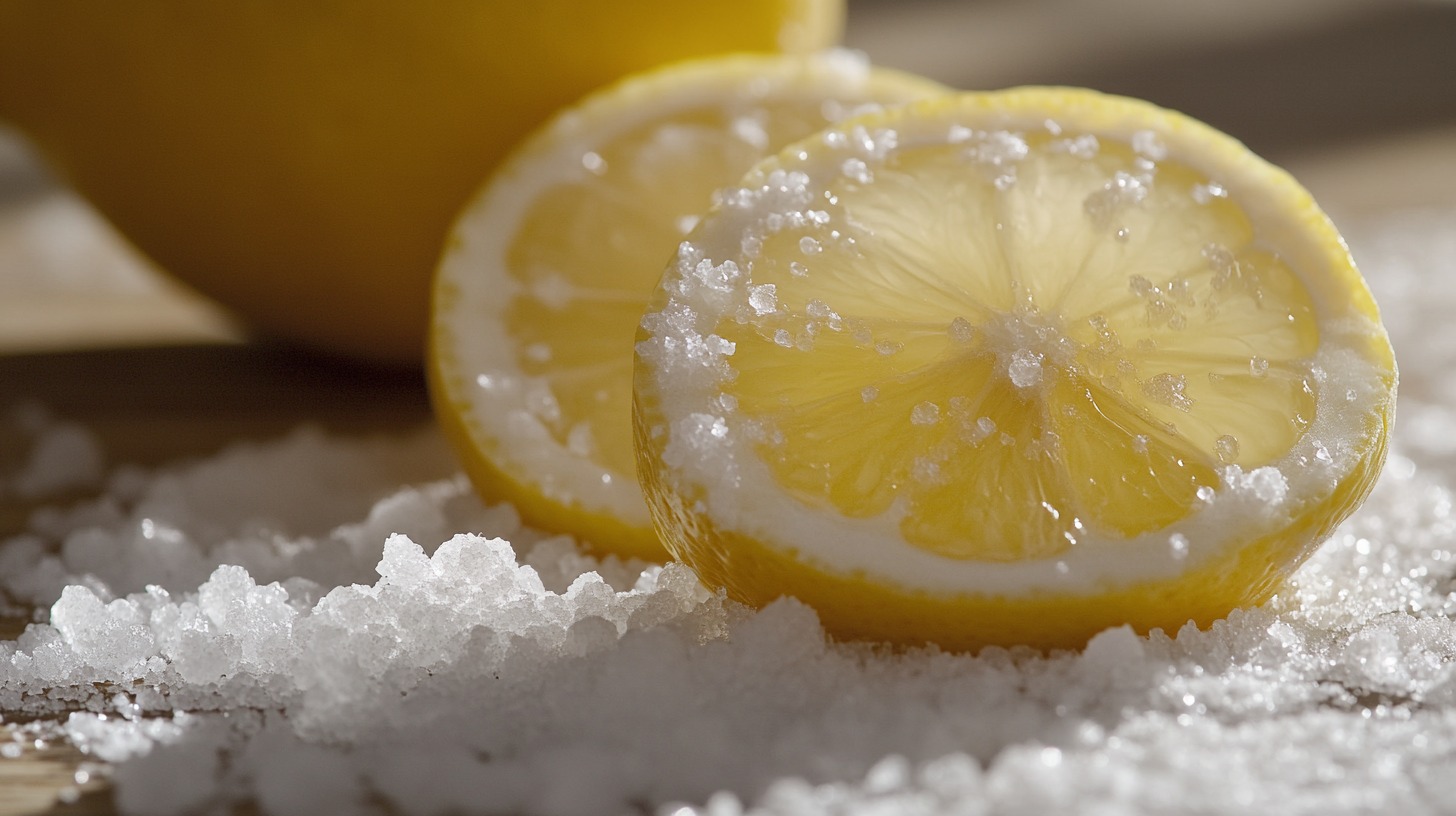
Lemon and salt make a powerful duo in the fight against rust stains. The natural acidity of lemon juice acts as a mild bleach, breaking down the iron oxide that causes rust.
Meanwhile, salt adds an abrasive quality that helps scrub away the loosened rust particles.
This method is not only effective but also completely natural, making it a safe choice for households with children or pets.
- Start by squeezing fresh lemon juice directly onto the rust-stained area.
- Then, generously sprinkle salt over the juice, creating a paste-like consistency.
- Allow the mixture to sit on the stain for about 30 minutes.
- This gives the lemon juice time to penetrate the rust and the salt to work its abrasive magic.
- After 30 minutes, gently scrub the area with a soft brush or sponge.
- You’ll notice the rust starting to lift away.
- Finish by rinsing the area with cold water and drying the surface with a clean cloth.
It is not only effective but also eco-friendly and non-toxic. Lemon and salt are commonly found in most kitchens, making this a convenient and cost-effective solution for rust removal.
2. Baking Soda and Vinegar
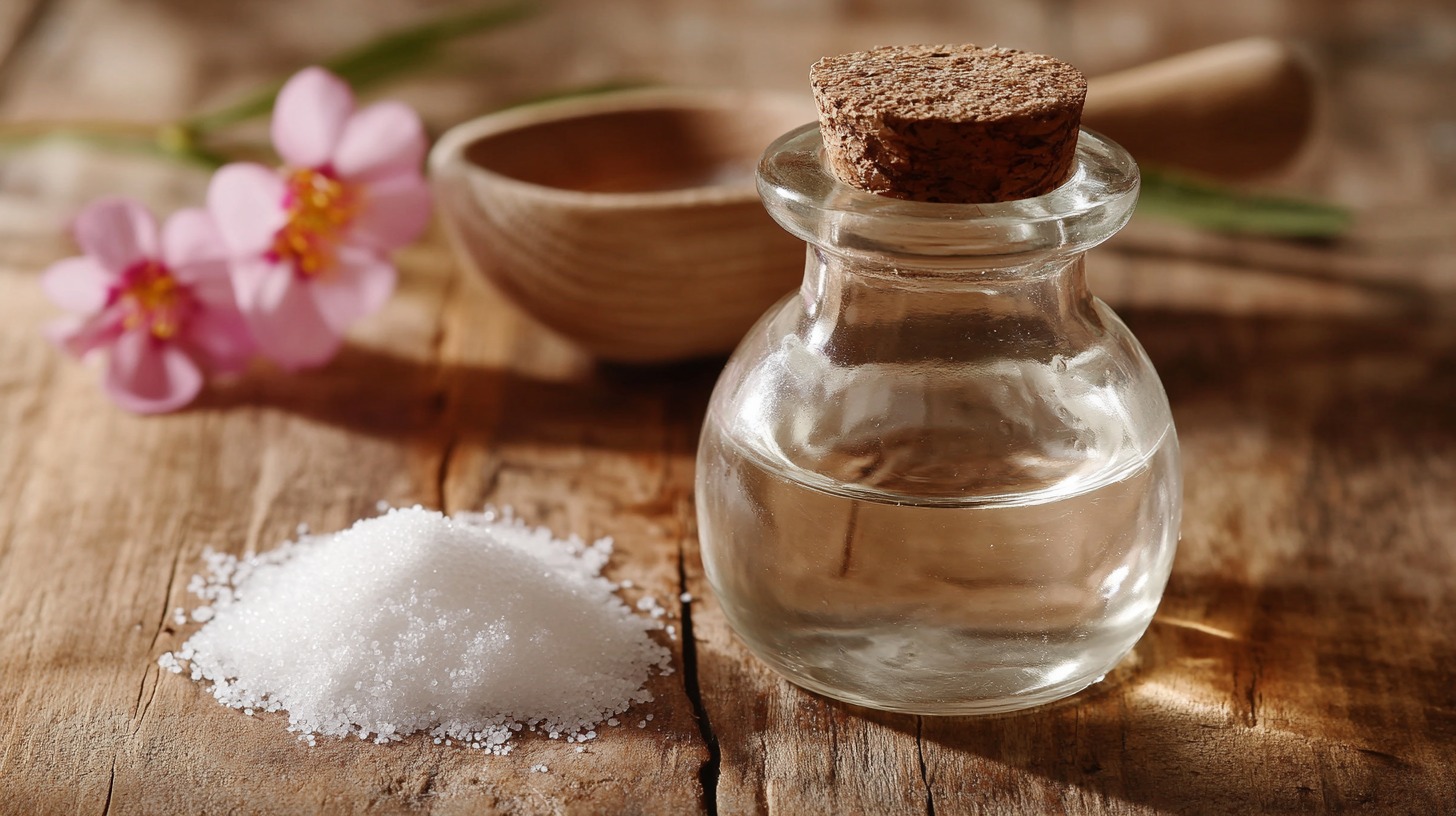
Baking soda and vinegar are a classic cleaning combination, and they work wonders on rust stains as well.
The fizzing reaction between the two ingredients helps to lift rust from surfaces, making it easier to scrub away.
Baking soda acts as a mild abrasive, while vinegar’s acidity dissolves the rust, breaking it down at the molecular level.
How to Use:
- Begin by sprinkling a generous amount of baking soda directly onto the rust stain.
- Next, pour white vinegar over the baking soda.
- You’ll see an immediate fizzing reaction as the two ingredients interact.
- Let this mixture sit for 15-30 minutes, allowing the chemical reaction to do its work.
- Afterward, use a soft brush or sponge to scrub the area, lifting away the loosened rust.
- Rinse thoroughly with water and dry the surface with a towel.[/su_note]
Baking soda and vinegar are particularly safe and effective for a variety of surfaces, including porcelain and stainless steel. It’s a go-to solution for many homeowners because the ingredients are readily available and non-toxic.
3. Cream of Tartar and Hydrogen Peroxide
Cream of tartar, often used in baking, can also be a powerful cleaning agent when combined with hydrogen peroxide.
The mildly abrasive nature of cream of tartar helps to scrub away rust, while hydrogen peroxide’s oxidizing properties further break down the rust stains, making them easier to remove.
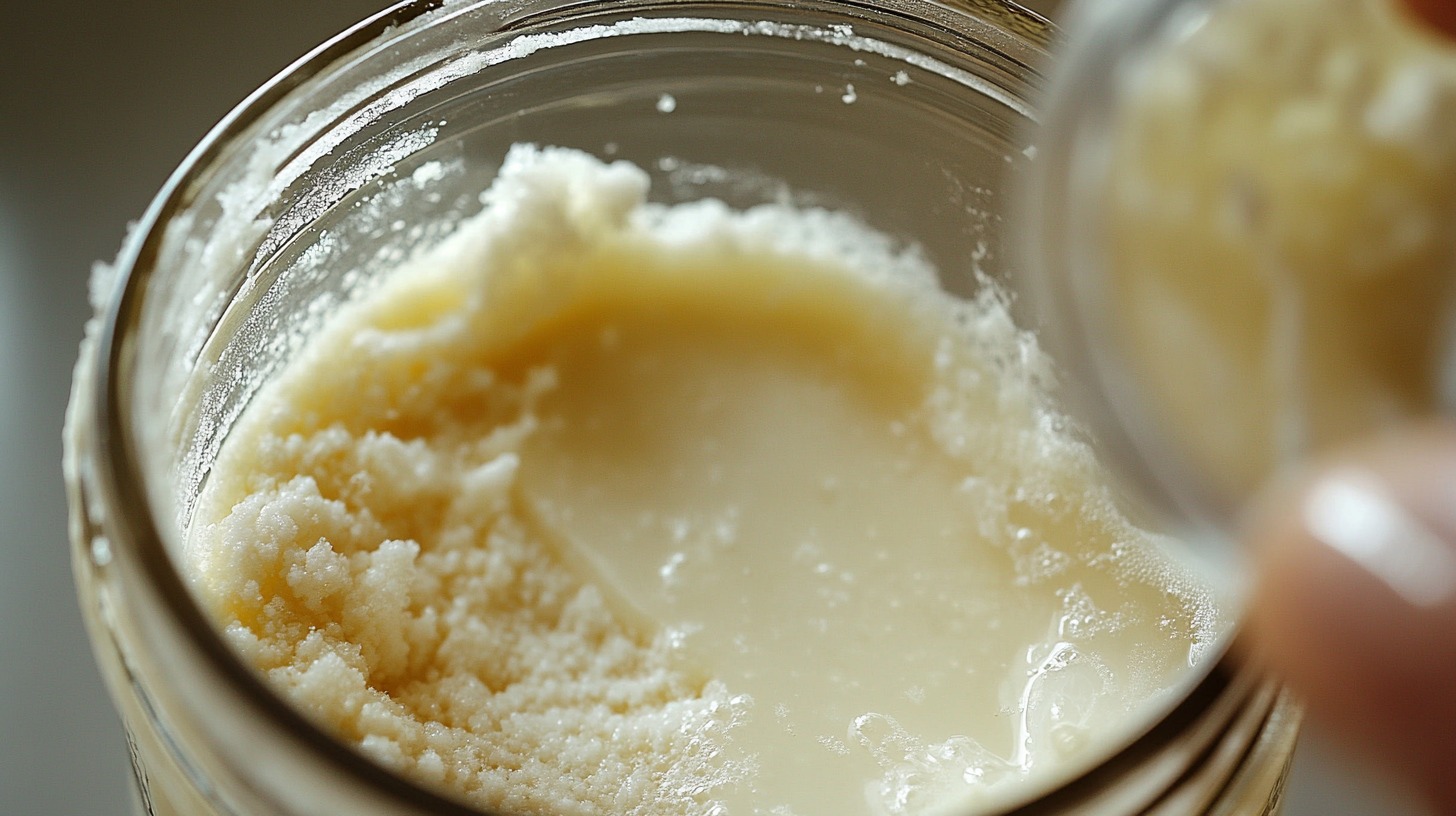
- To create your rust-removing paste, mix cream of tartar with a small amount of hydrogen peroxide until you achieve a thick, spreadable consistency.
- Apply the paste directly to the rust stain, ensuring full coverage.
- Allow it to sit for about 30 minutes, giving the ingredients time to work their magic.
- After the waiting period, gently scrub the area with a soft brush to lift the rust.
- Rinse the surface with warm water and dry it completely with a clean cloth.
This method is particularly effective on tougher rust stains that may not respond well to other treatments.
It’s also a relatively gentle approach, making it suitable for delicate surfaces that require careful handling.
4. Commercial Rust Remover
For those looking for a quick and powerful solution, commercial rust removers are specifically formulated to tackle stubborn rust stains.
These products are designed for efficiency and are often the go-to choice for particularly persistent stains or large areas.
- Each commercial rust remover comes with specific instructions, so it’s essential to follow the manufacturer’s guidelines closely.
- You’ll apply the rust remover to the stained area and let it sit for the recommended amount of time, which is usually just a few minutes.
- After the product has had time to work, scrub the area with a non-abrasive sponge or brush to remove the rust.
- Finally, rinse the surface thoroughly with water and dry it completely.
The primary advantage of using a commercial rust remover is its effectiveness and speed.
These products are specially designed for rust removal and can often achieve results that are difficult to replicate with household ingredients.
However, they should be used with care, especially on sensitive surfaces, and it’s important to ensure the area is well-ventilated during use.
5. Pumice Stone
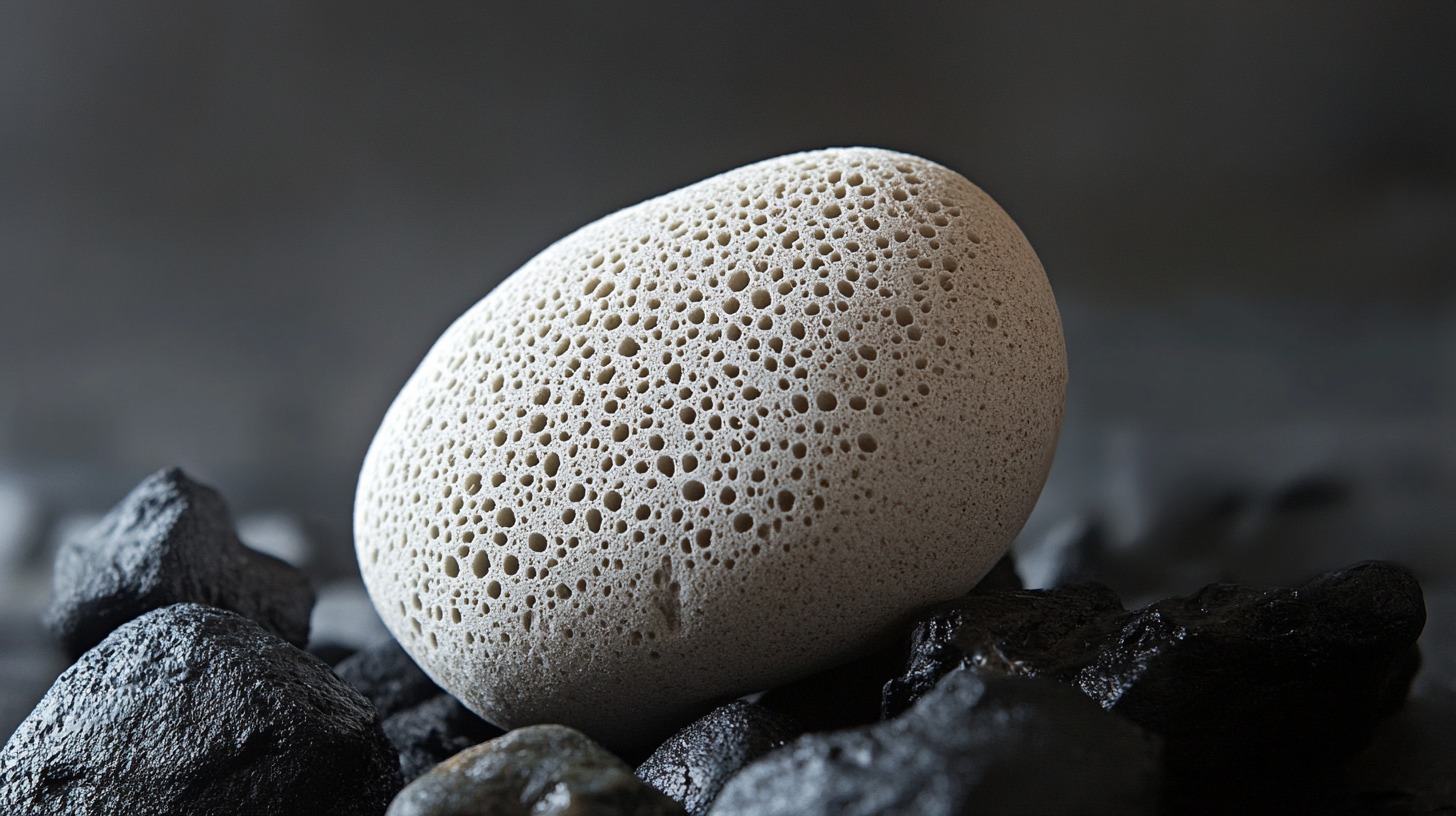
A pumice stone is a gentle yet effective abrasive tool that can physically remove rust stains without the need for chemicals.
When used correctly, it can lift rust from surfaces like porcelain without causing damage, though it’s crucial to use it carefully to avoid scratching.
- Start by wetting both the pumice stone and the rust-stained area.
- This is important as a dry pumice stone can be too abrasive.
- Gently rub the stone over the rust stain, applying minimal pressure to avoid scratching the surface.
- The rust will begin to lift as the pumice stone wears it away.
- Once the stain is gone, rinse the area with water to remove any debris and dry the surface with a clean cloth.
Pumice stone is useful for porcelain surfaces, where a gentle approach is necessary. A pumice stone is a reusable tool, making it an eco-friendly option for rust removal. However, it’s important to use it with care to avoid damaging the surface.
The Bottom Line
Rust stains in sinks and tubs can be unsightly, but with the right approach, they’re easy to remove.
By choosing the method that best suits your needs, you can keep your sinks and tubs looking clean and well-maintained.
Regular maintenance and prompt attention to stains will help prevent rust from becoming a recurring problem.
Pro Tip: If you notice persistent rust stains on your clothes after washing, it might be due to your washing machine’s condition. Learn more about which washing machine brands to avoid to prevent such issues.

