1. Update Cabinet Hardware
Choosing New Knobs and Pulls
- Material and Style: Start by matching the hardware to your kitchen’s style. For a modern kitchen, sleek stainless steel or chrome knobs and pulls work beautifully. They’re clean, and minimal, and add a contemporary touch. If you’re leaning towards a more rustic or traditional feel, bronze or antique finishes will give your kitchen a warm, classic look.
- Shape and Size: Think about both function and flair. Larger pulls are great for making a statement and are easier to grip, while smaller knobs can add a subtle touch of elegance. Mixing and matching styles can create a unique look, but make sure they work well together to avoid a mismatched appearance.
- Test Your Options: Before buying, check out online reviews or visit a local store to see and handle the hardware in person. It’s a great way to get a feel for what will work best in your kitchen.
Installation Tips
- Remove Old Hardware: Start by unscrewing the old knobs and pulls. Be gentle to avoid damaging the cabinets.
- Clean the Surface: After removing the old hardware, clean the area where the new ones will go. This ensures a smooth surface for installation.
- Measure and Mark: Accurate measurements are key. Use a template to mark where the new hardware will be installed. This helps you drill in the right spot and avoids mistakes.
- Drill New Holes: If the new hardware needs different hole placements, carefully drill new ones. Make sure they align perfectly to avoid misalignment.
- Install the New Hardware: Screw the new knobs or pulls into place. Tighten them securely, but don’t overdo it—over-tightening can strip the screws or damage the cabinet surface.
2. Get Some New Accessories
Decorative Containers
If you’re looking to add some character, hanging pot racks are a great choice.
They not only free up cabinet space but also add a touch of style—choose a wrought iron rack for a traditional look or stainless steel for something more modern.
Magnetic knife strips are another excellent addition, allowing you to keep your knives easily accessible and neatly stored while preserving their sharpness.
For an extra design boost, consider incorporating materials like thin brick. This can add a distinctive, stylish touch to your kitchen, creating a beautiful backdrop that complements both modern and rustic elements you can find this on the Real Thin Brick website.
Hanging Pot Racks
They free up cabinet space and make your pots and pans easily accessible. Opt for a pot rack that complements your kitchen’s style; for instance, a wrought iron rack suits traditional kitchens, while stainless steel may be more appropriate for modern spaces.
Installation usually involves securing the rack to ceiling beams to ensure it can support the weight. Consider adding hooks not just for pots and pans but also for utensils, colanders, and even cutting boards.
3. Refresh Cabinet Faces
| Step | Details | Tips |
|---|---|---|
| Preparation | Clean surfaces thoroughly. Sand lightly to ensure paint adhesion. | Use a degreaser for tough grime and a fine-grit sandpaper. |
| Primer | Apply a primer to prevent old finishes from bleeding through. | Choose a stain-blocking primer for better coverage. |
| Paint Choices | Use high-quality latex or oil-based paint. Acrylic enamel is durable and smooth. | Test a small area to ensure compatibility with the primer. |
| Color Selection | Opt for bold colors for a modern look or classic whites and neutrals for a timeless appeal. | Consider a semi-gloss finish for easy cleaning. |
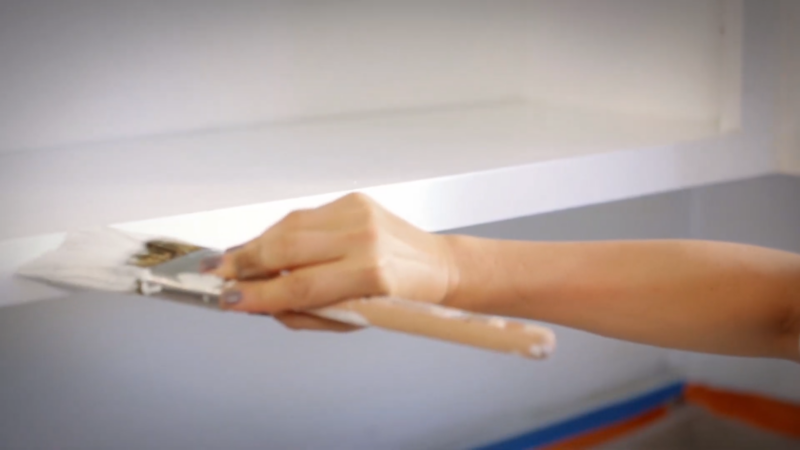
| Application | Apply paint using a brush or roller, following the grain of the wood for a smooth finish. | Use painter’s tape to protect adjacent areas. |
| Drying and Curing | Allow sufficient drying time between coats and before use. | Follow manufacturer’s instructions for drying times. |
Adding Trim or Moulding
Choose from various styles like cove, crown, or beadboard molding.
Measure your cabinets accurately, then cut and attach the molding using wood glue and finishing nails. Sand any rough edges and finish with paint or stain to match or contrast the existing cabinets.
Trim can be used along the top edges or as decorative accents on door fronts, creating a more sophisticated appearance.
Veneering Techniques
Options include real wood veneer or laminate veneer, each offering unique advantages.
Preparation involves removing old finishes and ensuring surfaces are smooth. Apply adhesive to both the veneer and cabinet surface. Veneer sheets should be carefully aligned and pressed down to avoid air bubbles.
Finishing with a sealant enhances durability and gives cabinets a polished finish. Veneering can mimic the look of exotic woods or offer sleek, modern surfaces depending on the material chosen.
4. Give It More Light

Under-Cabinet Lighting
LED strip lights are an excellent choice for this application due to their energy efficiency and long lifespan. Motion-sensor options are convenient, activating as you approach the work area.
Installation is straightforward. Adhesive-backed strips adhere directly beneath cabinets. Hardwired versions offer a seamless look without visible cords. These lights not only improve visibility but also add a modern touch to your kitchen.
In terms of color temperature, opt for cool white (4000K-5000K) for task-oriented spaces. Dimmable options allow you to adjust the brightness based on your specific needs, creating a perfect balance of utility and atmosphere.
Overhead Ambient Lighting
Consider replacing outdated fixtures with modern pendant lights or chandeliers. LED recessed lights provide a sleek, unobtrusive alternative.
To determine the number of fixtures needed, use a general rule of one fixture per 4-6 square feet. Position lights evenly across the ceiling to eliminate dark spots. Pendant lights are suitable for over kitchen islands or dining areas and should have adjustable heights to accommodate different ceiling heights.
| Fixture Type | Details |
|---|---|
| Pendant Lights | Ideal for islands, adjustable height |
| Chandeliers | Modern look, suitable for larger spaces |
| Recessed Lights | Sleek, unobtrusive |
| Fixture Count | 1 per 4-6 square feet |
Installing Dimmer Switches
Dimmers can be installed on most light fixtures, including LED and incandescent bulbs.
Ensure the dimmer switch is compatible with your lighting type. Some LEDs require specific dimmers for proper function. Installation involves basic electrical knowledge, but professional help is recommended for safety.
5. Upgrade Kitchen Faucet
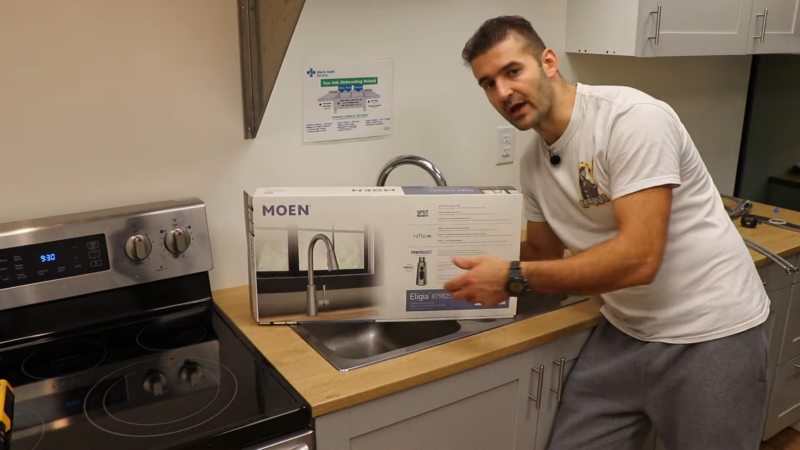
Replacing an old or outdated faucet with a new, stylish model can impact the room’s aesthetics. Options like matte black or gold finishes can provide a modern look and elevate the kitchen’s overall style.
Steps to Upgrade Your Faucet:
- Choose a new faucet: Select a style and finish that complements your kitchen design.
- Gather tools: A wrench, pliers, and plumber’s tape will usually suffice.
- Turn off the water supply: Always ensure the water is completely off before starting.
- Remove the old faucet: Disconnect water lines and mounting hardware carefully.
- Install the new faucet: Follow the manufacturer’s instructions for best results.
- Reattach water lines: Ensure everything is properly connected and secure.
- Test for leaks: Turn the water back on and check for any leaks or drips.
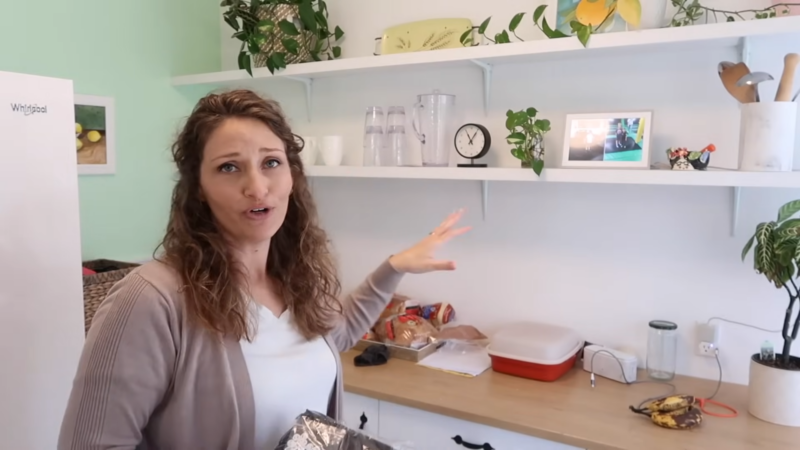
6. Shelving Solutions
These shelves can be installed above countertops, over sinks, or on empty walls, offering space for frequently used items and decorative pieces.
Ideas for Floating Shelves:
- Display and Storage: Use them to showcase attractive dishes, glassware, or cookbooks.
- DIY Installation: Opt for affordable brackets and materials to save on installation costs. Floating shelves are relatively simple to install yourself, reducing the need for professional help.
- Mix and Match: Combine different sizes and lengths of shelves to create visual interest and customize the storage to your needs.
| Feature | Details |
|---|---|
| Placement | Above countertops, over sinks, or on walls |
| Usage | Display dishes, glassware, cookbooks |
| Installation | DIY with affordable brackets and materials |
Pull-Out Pantry Shelves
This solution is especially useful in small kitchens where space optimization is key.
Ideas for Pull-Out Pantry Shelves:
- DIY Conversion: Retrofit existing cabinets with pull-out shelf kits to save on custom cabinetry costs.
- Organize Efficiently: Use adjustable shelves to organize canned goods, spices, and dry ingredients, making everything easily accessible.
- Flexible Options: Install pull-out shelves in standalone pantries or as part of existing cabinetry to fit various kitchen layouts.
| Feature | Details |
|---|---|
| Functionality | Turns deep cabinets into accessible drawers |
| Installation | DIY kits available for retrofitting |
| Usage | Organize canned goods, spices, dry ingredients |
7. Add a Fresh Coat of Paint
Neutral colors such as beige or grey offer a more understated yet elegant look.
It is also crucial to take into account your existing kitchen elements, such as cabinets, countertops, and appliances. Coordinating the wall color with these elements helps to create a harmonious look. Paint is a versatile tool—you can even use it to create an accent wall that adds visual interest to your kitchen.
Painting Behind Appliances
Clean these surfaces thoroughly to remove grease and grime, which can affect the paint’s adherence. Use a high-quality primer if needed, especially on surfaces prone to grease and moisture. This step prepares the wall for a smooth, long-lasting finish.
Consider using semi-gloss or satin paint for these areas due to their durability and ease of cleaning. These finishes are more resistant to stains and can easily be wiped down, maintaining a cleaner and fresher look over time.
Evaluating Your Current Kitchen Space
1. Space Utilization
- Problem Area: Unused corners or overcrowded cabinets
- Solution: Add additional shelves or cabinet organizers to make better use of available space.
2. Lighting
- Problem Area: Dim lighting while cooking
- Solution: Install under-cabinet lighting or replace old bulbs with brighter LEDs to improve visibility.
3. Appliance Placement
- Problem Area: Appliances are not easily accessible
- Solution: Rearrange appliances to optimize workflow and make them more convenient to use.
4. Wall and Floor Condition
- Problem Area: Worn-out paint or old tiles
- Solution: Refresh with a new coat of paint or updated tiles, and consider changing the backsplash for a quick update.
5. Personal Style
- Problem Area: Outdated design or mismatched decor
- Solution: Update the color scheme or replace hardware to better reflect your taste and style.