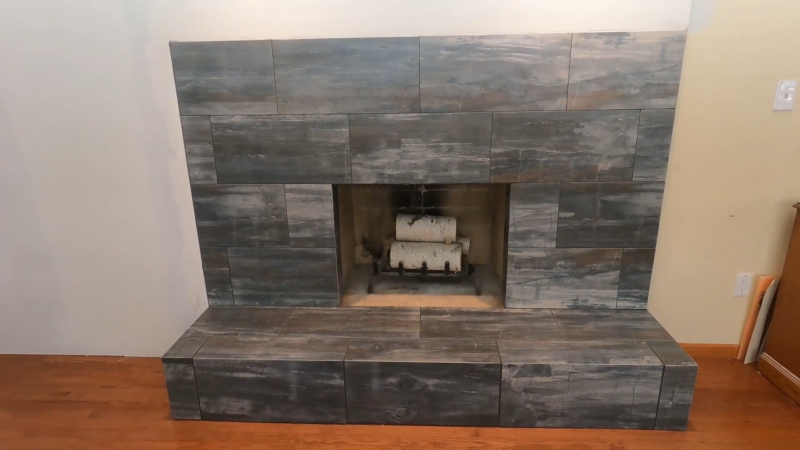
A fireplace can enhance any room, offering warmth and a cozy atmosphere.
If your fireplace looks outdated or worn, a simple and affordable way to update it is by adding new tile.
This guide will walk you through the process of tiling your fireplace, making it easy to achieve a fresh, modern look.
Whether you’re experienced with DIY projects or just starting out, this article provides all the details and tips you need to complete the job.
Table of Contents
Toggle8 Steps for Tiling a Fireplace
Tiling a fireplace can seem like a big job, but with a little patience, the right tools, and some elbow grease, it’s definitely doable.
Here’s a detailed guide, with some practical advice to make your fireplace update not only effective but also rewarding.
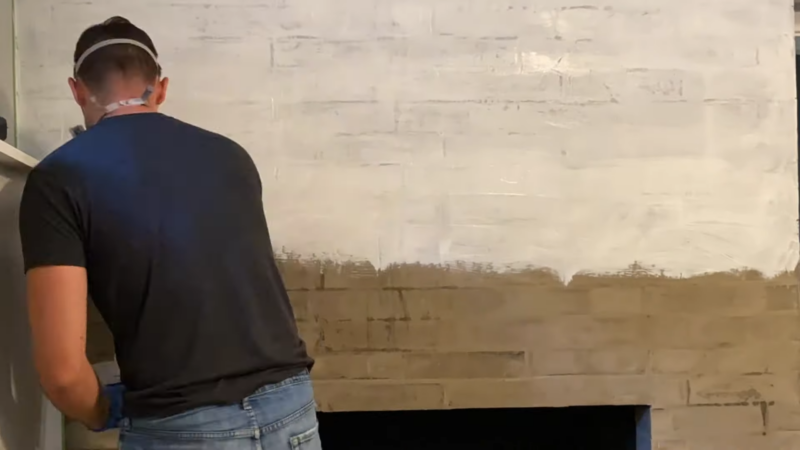
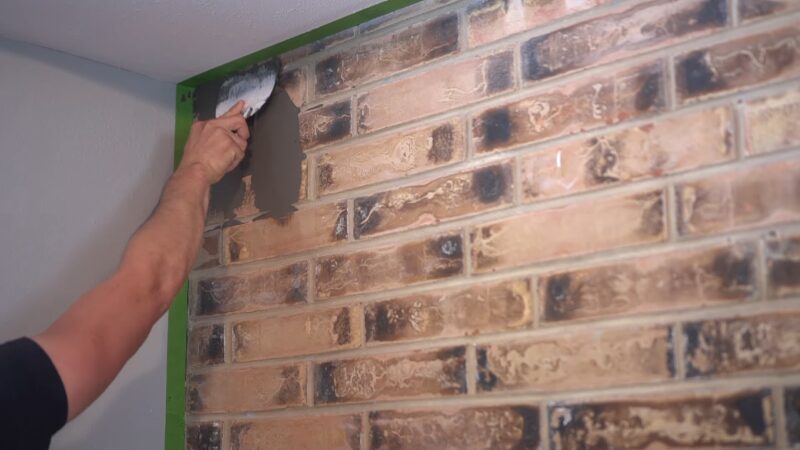
Step 1: Prepping the Fireplace Surface
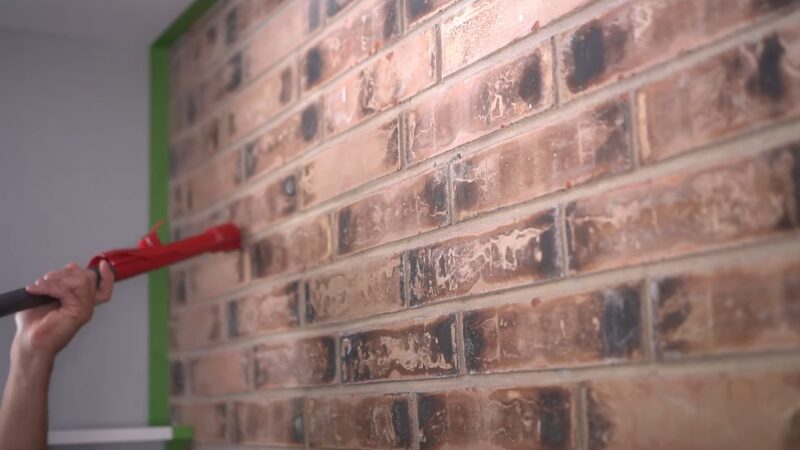
The first thing you want to do is make sure your fireplace is completely clean.
Any dust, grime, or debris can mess with how well the tiles stick. Wipe it down with a damp cloth, and if the surface is rough, grab a wire brush to smooth it out.
For more stubborn patches, you could even use a sanding block to level things out.
If there’s paint on the surface, especially if it’s flaking, be sure to strip that off too—tiles need a solid surface to stick to.
Once you’re done, make sure the surface is dry before moving forward.
Step 2: Choosing the Right Tile
When it comes to selecting tiles, there’s a lot more to think about than just how they look.
Sure, you want something that matches your style, but make sure the tiles can handle heat.
Natural stone, ceramic, and porcelain are all great choices, but make sure they’re rated for fireplace use.
Also, think about the color and texture—darker tones can hide soot, while textured tiles can add some depth to the design.
You’ll want to balance practicality with aesthetics here.
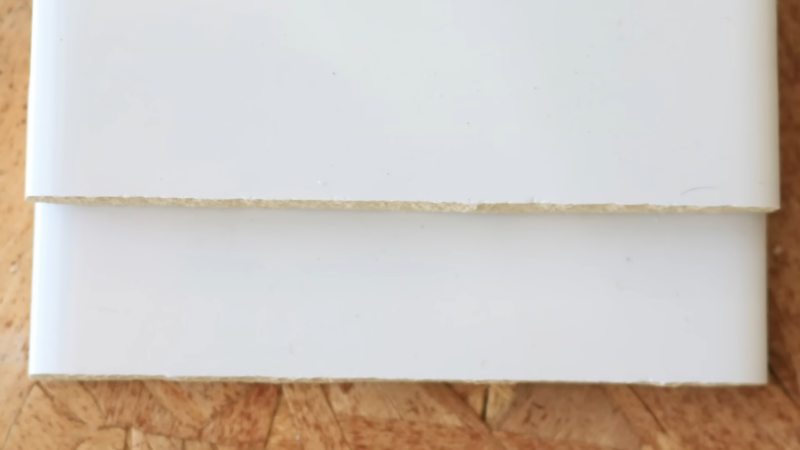
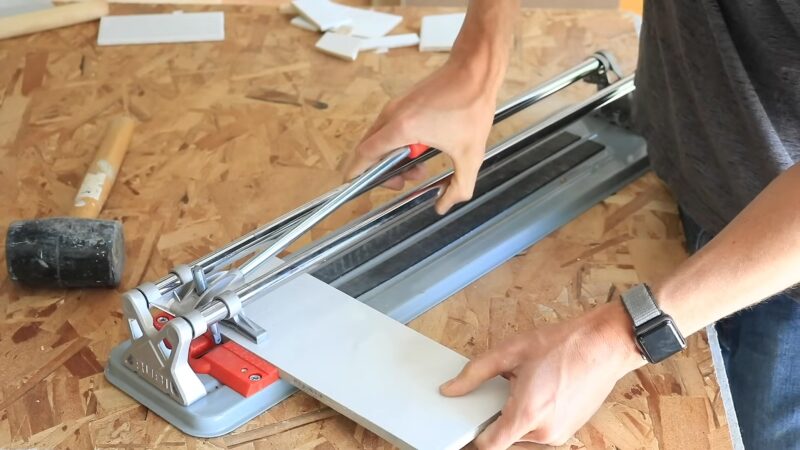
Step 3: Measuring and Cutting Tiles
Measure twice, cut once.
That’s the golden rule here. Use a tape measure to figure out the exact dimensions of the space you’ll be tiling, then calculate how many tiles you’ll need.
Don’t forget to account for tile spacers!
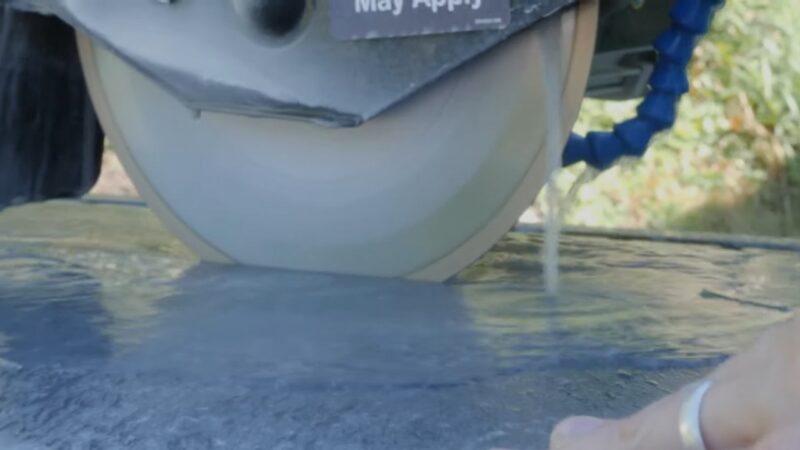
Grab a tile cutter or wet saw and make clean, precise cuts—better to overcut slightly and trim later than to cut too short.
Always buy a few extra tiles in case of mistakes or future repairs.
And if your fireplace has tricky angles or a unique shape, spend extra time planning the layout for those cuts.
Step 4: Laying Out the Tiles
Before you start sticking anything down, do a dry run by laying out your tiles in place.
This will help you see how they fit and if you need to make any last-minute adjustments to your cuts.
Plus, this step gives you a chance to double-check your tile pattern, especially if you’re working with a mosaic or an intricate design.
You might even consider snapping a chalk line or using a laser level to keep everything straight.
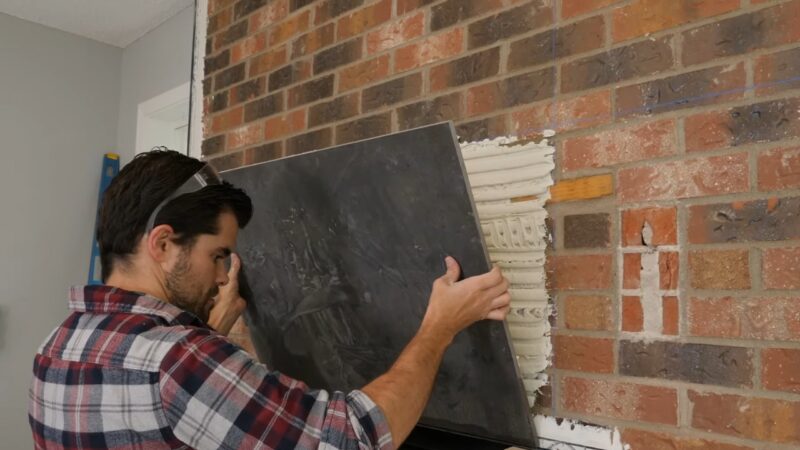
Step 5: Applying the Adhesive
Now it’s time to make it stick.
Grab your notched trowel and start spreading thin-set adhesive—either on the back of the tile or directly on the surface, depending on the manufacturer’s instructions.
Work in small sections so the adhesive doesn’t dry out before you get the tile up.
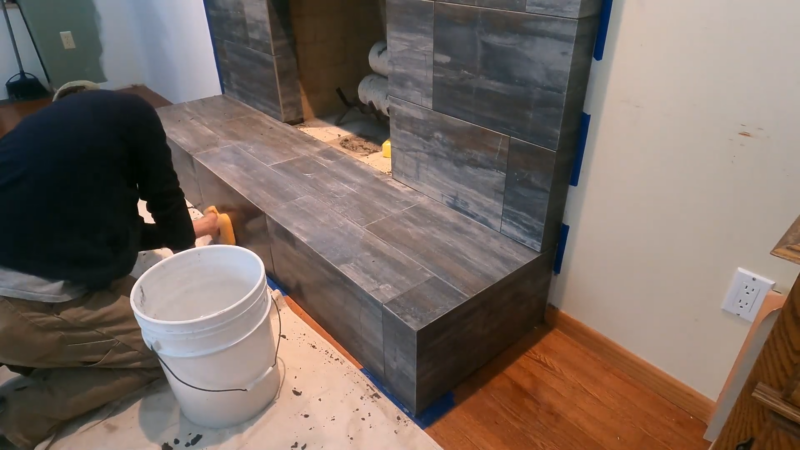
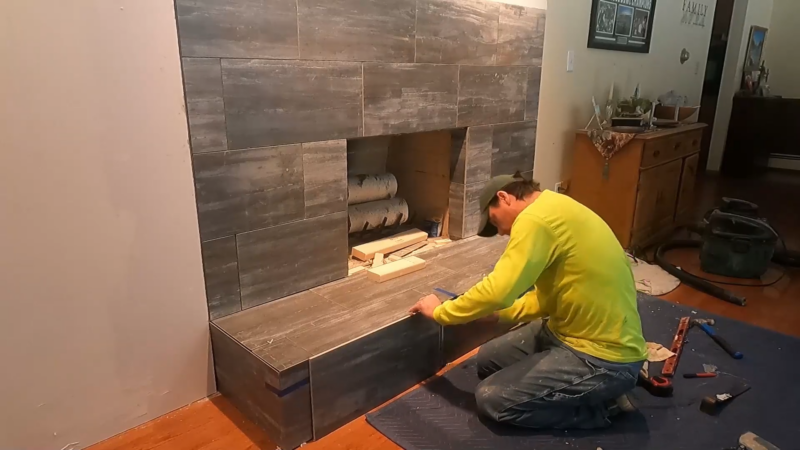
Start at the bottom and work your way up, pressing each tile into place with firm, even pressure. Use spacers to keep the grout lines uniform.
Take your time here, ensuring each tile is properly positioned. Let it cure according to the adhesive’s instructions (usually 24 hours).
Step 6: Grouting the Tiles
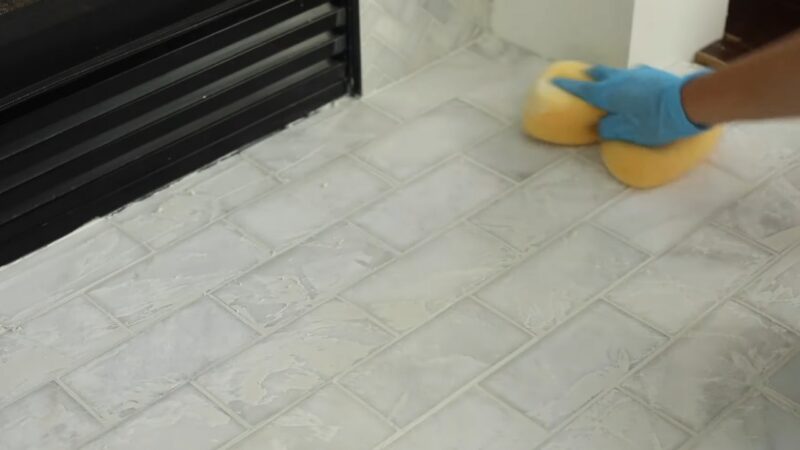
Once your adhesive is fully dry, it’s time to grout.
Mix up the grout according to the package directions, and start pressing it into the gaps between tiles with a grout float.
Be generous, making sure the grout fills every space, but work neatly to avoid excess on the tile surface.
As the grout begins to set, use a damp sponge to wipe off the excess, but be gentle so you don’t pull the grout out of the joints. Let it dry fully, usually around 24 hours.
Step 7: Sealing the Tiles
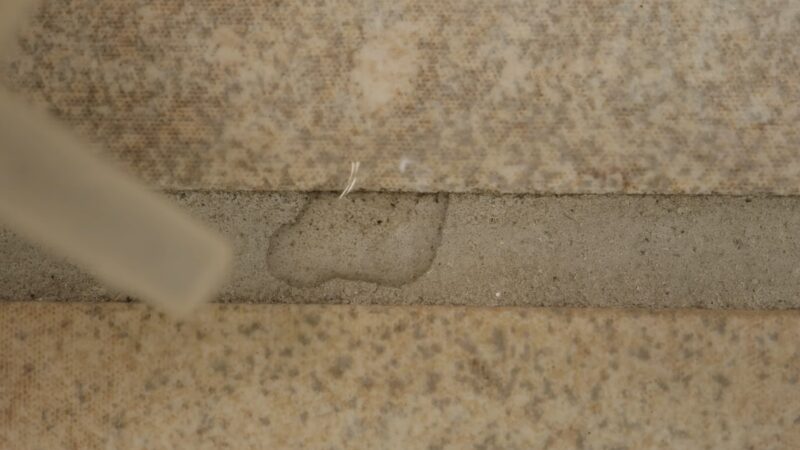
This step is key for protecting your hard work.
Fireplaces are exposed to heat, soot, and the occasional spill, so you’ll want to seal both the grout and the tiles themselves.
Use a grout sealer for the lines and a tile sealer for the surface.
Sealing doesn’t just protect the tiles from stains; it also makes them easier to clean down the road.
Step 8: Adding the Finishing Touches
Now that your tiles are secure and sealed, it’s time to put the cherry on top. Maybe you want to add a decorative trim around the edges, or perhaps an accent tile or two to make things pop.
If the fireplace surround looks dated compared to your new tiles, consider giving it a fresh coat of heat-resistant paint.
Don’t forget to reinstall your fireplace screen or any other elements you removed before starting the project.
A Few Extra Handy Tips
- Stay patient and don’t rush—tiling takes time, especially waiting for things like adhesive and grout to dry.
- Use heat-resistant materials only, especially for fireplaces.
- Consider safety—use gloves and eye protection when cutting tiles or using strong adhesives.
- Clean as you go to avoid grout setting on your tiles or adhesive drying where it shouldn’t.
What Materials and Tools Will You Need for Tiling a Fireplace?
Materials
- Ceramic, porcelain, natural stone, or heat-resistant tiles
- Thinset tile adhesive
- Grout (sanded or unsanded, depending on tile size)
- Tile spacers
- Tile trim (optional)
- Grout sealer (optional, recommended for natural stone)
Tools
- Tile cutter or wet saw
- Tile nipper (for shaping smaller pieces)
- Notched trowel
- Grout float
- Rubber mallet (for gentle tapping)
- Sponge (for cleaning excess grout)
- Level (to keep tiles even)
- Measuring tape
- Pencil or chalk for marking tiles
- Safety glasses and gloves (important for protection)
- Drop cloth or plastic sheeting (to protect the surrounding area)
- Bucket (for mixing adhesive and grout)
Having all these materials and tools ready before starting ensures a smoother process. When removing a kitchen tile backsplash, make sure to carefully pry off the tiles to avoid damaging the wall underneath.
Don’t forget your safety gear—glasses, gloves, and ear protection if you’re using a wet saw. You might also want to grab a dust mask if you’re working with dusty surfaces or cutting tiles indoors.
How do You Prepare the Fireplace Surface for Tiling?
Preparing your fireplace surface is key to making sure your tiles stick properly. Follow these steps:
- Clean the surface: Use a brush and warm, soapy water to scrub away dirt, soot, or old adhesive. Let the surface dry fully.
- Inspect for damage: Check for any cracks or chips. If you find any, patch them with fireplace mortar and allow them to dry.
- Sand the surface: Lightly sand the surface to create a rough texture, which helps the adhesive grip the tiles better.
- Prime the surface: Apply a primer suitable for tiling. This is especially important if you’re working with a surface that’s non-porous or slick.
- Measure and layout: Plan the tile layout and measure everything carefully to avoid unnecessary cuts later.
What Type of Tiles Are Best Suited for A Fireplace, Considering Heat and Sparks?
The fireplace environment gets hot, and in some cases, sparks may fly out, especially with wood-burning fireplaces. Here’s what to keep in mind:
- Heat Resistance: Choose tiles that are heat-resistant. Porcelain and ceramic tiles are common and can handle the heat. Natural stones like granite or slate are also excellent for high-heat areas.
- Non-flammable: Make sure the tiles are non-combustible. Avoid materials that can catch fire if exposed to sparks.
- Size and Shape: Smaller tiles, like mosaics, may handle heat expansion better than large tiles, reducing the chance of cracking.
- Easy to Clean: Fireplaces get dirty with soot and ash, so choose tiles with a finish that’s easy to clean, like glazed ceramic or sealed stone.
What’s the Best Way to Measure and Cut Tiles for A Fireplace?
Accurate measuring and cutting are essential to achieving a professional look. Here’s how:
- Measure the Area: Start by measuring the width and height of each side of the fireplace. Remember to include any hearth or mantel areas in your calculations. It’s always better to overestimate slightly to avoid running short on tiles.
- Plan for Gaps: Don’t forget to account for tile spacers when measuring. This ensures your tile layout remains symmetrical and avoids misalignment.
- Cutting Tools: Use a wet saw or tile cutter for larger, straight cuts, and a tile nipper for smaller, detailed cuts. Mark the tile with a pencil before cutting to ensure precision.
- Leave Expansion Space: Always leave a small gap (about 1/8 inch) between the tile and the edge of the fireplace. This allows the tile to expand and contract with heat without cracking.
Do You Need to Seal or Protect the Tiles After Tiling the Fireplace?
Yes, sealing the tiles is often a good idea, depending on the tile type:
- Porcelain and Ceramic Tiles: These don’t require sealing as they are naturally waterproof and heat-resistant. However, you may still want to seal the grout to protect it from moisture and stains.
- Natural Stone Tiles: If you’re using tiles like marble, slate, or granite, sealing is essential. Natural stone is porous and can absorb soot, grime, or liquids, which can damage the tile over time. Sealing will protect the stone and keep it looking fresh.
- Grout Sealing: Regardless of your tile choice, sealing the grout is a must. Fireplace grout can get stained by soot, ash, and debris. A grout sealer will make it easier to clean and keep it looking new longer.
Related Posts:
- Can You Lay Tile Over Tile? Tips for a Successful…
- How to Remove a Kitchen Tile Backsplash - Step-by-Step Guide
- 10 Expert Tips for Painting Over Varnished Wood
- Can You Stain Plywood? A Complete Guide for DIYers
- How to Get Rust Off of Tools? A DIY Guide for Every…
- How to Clean Wood Stove Glass for a Crystal-Clear…