Yes, you can spray paint glass, and doing it correctly can transform ordinary glass into stunning decor pieces.
With the right techniques, you can achieve professional-looking results at home.
Before you start, make sure to clean the glass thoroughly and apply multiple thin coats of paint.
This approach prevents drips and uneven coverage, giving your glass a flawless appearance.
Also, consider applying a top coat to protect your newly painted glass and extend its lifespan.
How to Achieve a Flawless Spray Paint Finish on Glass
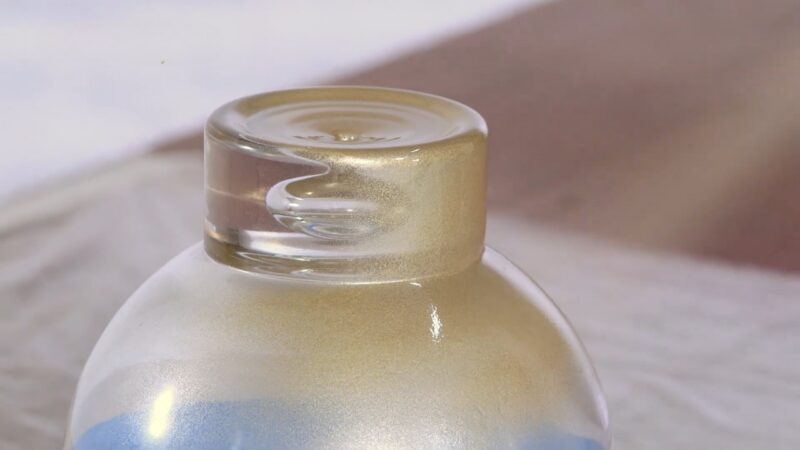
A Close-Up View of A Glass Object Featuring a Flawless, Shiny Spray Paint Finish with A Golden Sheen
Techniques for Even Spray Paint Application
For an even, consistent coat on glass, it’s crucial to maintain the right distance—typically 8 to 12 inches from the surface. This helps prevent paint buildup, drips, or an uneven finish.
Use smooth, sweeping motions, starting and ending each stroke just beyond the edges of the glass to avoid concentrated areas of paint.
When spraying, slightly overlap each pass to ensure full, even coverage. Always apply multiple thin coats rather than trying to cover the surface in one heavy layer. This allows for better control and minimizes the risk of drips and sagging.
Layering and Proper Drying Times
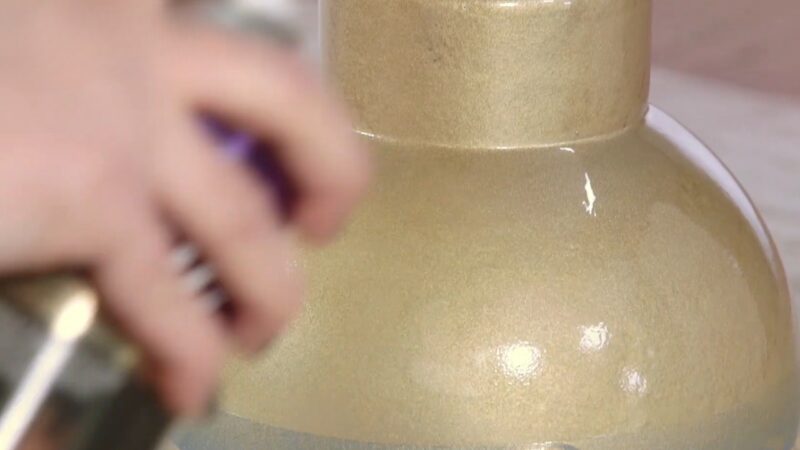
Close-Up of A Hand Spray Painting a Glass Vase with A Gold Finish
Wait at least 15 to 30 minutes between coats to let the paint become tacky without fully drying. Applying too much too soon can result in an uneven finish or cause drips.
As with the initial application, use several thin layers rather than a single thick one. This not only prevents drips but ensures a smooth, professional finish. Most spray paints recommend letting the final coat cure for 24 to 48 hours to achieve a durable finish.
Be sure to check the manufacturer’s guidelines for precise drying times, as these can vary depending on the paint type and environmental conditions like humidity or temperature.
Troubleshooting Common Issues
Encountering problems like drips, bubbles, or uneven coverage? These issues are common but fixable.
- Drips usually occur when too much paint is applied at once. If you spot a drip, wait until it dries, then gently sand the area with fine-grit sandpaper before reapplying a thin coat.
- Bubbles often result from shaking the spray can during use. Always shake the can before starting, but never while applying the paint.
- Uneven coverage typically happens if the paint passes don’t overlap enough. Adjust your technique to make sure each pass slightly overlaps the previous one.
- Unwanted textures can arise if the glass is dusty or dirty. Always clean the surface thoroughly before painting to ensure a smooth finish.
Preparation Steps
1. Cleaning the Glass Surface
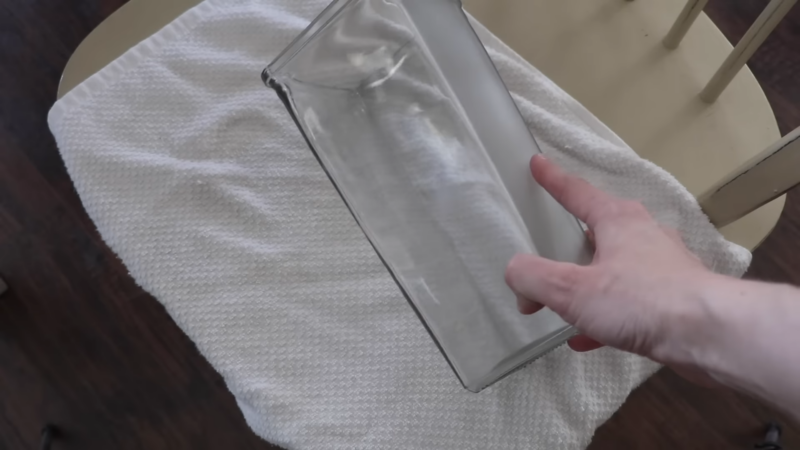
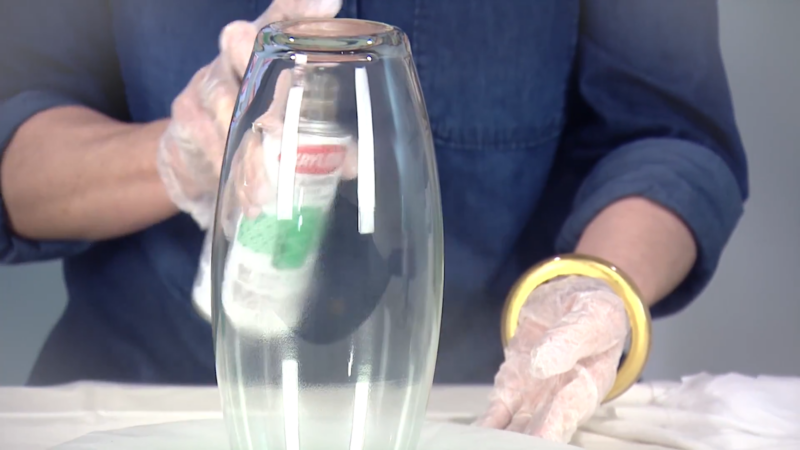
Person Holding a Clear Glass Surface Above a White Towel, Preparing to Clean It Before Spray Painting
First, use a glass cleaner or a mixture of water and mild dish soap. This removes dirt, grime, and oils that can prevent the paint from adhering properly. Apply the cleaner with a lint-free cloth to avoid leaving residue.
Next, rinse the glass with clean water to remove any soap residue. Dry it completely using a clean, lint-free cloth. Ensure the surface is spotless because even small particles can cause imperfections in the final paint finish.
Alcohol or vinegar can be used for a final wipe-down. This eliminates any remaining oils and ensures the surface is optimally prepared for painting.
2. Masking and Protecting Adjacent Areas
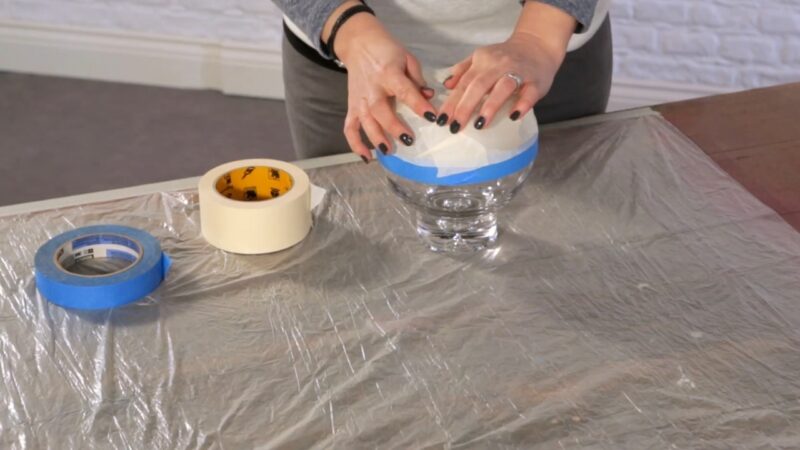
A Person Is Applying Masking Tape to A Glass Bowl to Cover and Protect Parts of It from Spray Paint
Start by covering the edges of the glass with painter’s tape. Ensure the tape is pressed down firmly to prevent paint from seeping underneath. For larger areas around the glass, use plastic sheets or newspapers to cover the surrounding surfaces.
Secure the protective coverings with painter’s tape, making sure that no part of the glass or adjacent area you wish to protect is exposed. Consider adding a second layer of tape or paper for added protection on highly sensitive areas.
If you’re working with framed glass, cover the frame itself to protect it from accidental overspray. Proper masking ensures cleaner lines and a professional-looking finish.
3. Applying a Primer
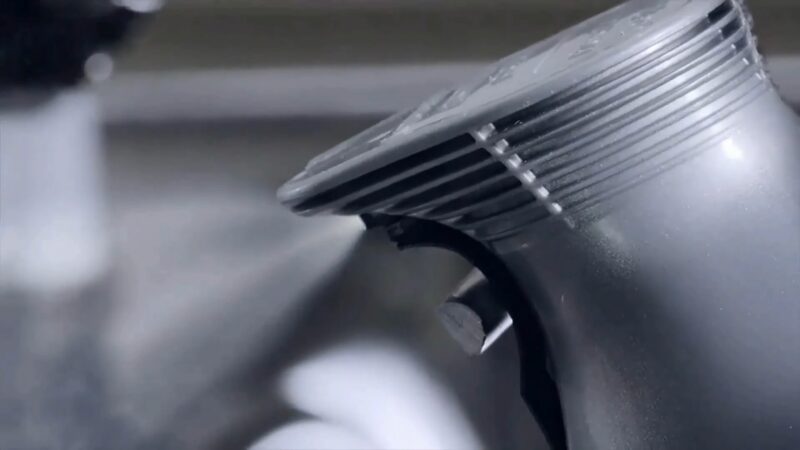
A Close-Up of A Spray Paint Can Nozzle Discharging a Fine Mist of Primer onto A Glass Surface
Shake the primer well before use, holding it about 10-12 inches from the surface. Apply the primer in even, sweeping strokes, starting from the top and moving downward.
It’s essential to apply a thin, even layer of primer first. This initial layer acts as a base and ensures better adhesion for the subsequent coats of paint. Allow the primer to dry for at least 15 minutes, then inspect the surface to ensure it’s evenly covered before proceeding with the spray paint.
If necessary, apply a second layer of primer, following the same steps. Once the primer is fully dry, the glass surface will be ready for spray painting.
Post Application Tips and Tricks
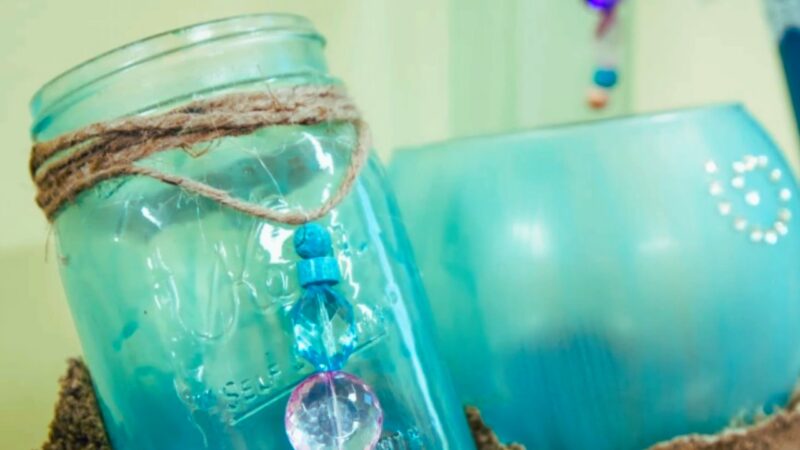
Decoratively Spray-Painted Glass Jars
1. Curing the Paint
Allow the paint to air dry for at least 24 hours. This initial drying period is crucial for the paint to set uniformly.
Once the paint is dry to the touch, consider curing it further by placing it in an oven. Preheat your oven to 350°F (175°C). Place the painted glass item in the oven and bake it for 30 minutes. This process helps to harden the paint, making it more durable.
After baking, let the glass cool down gradually inside the oven to prevent any sudden temperature changes that might cause cracks. Avoid touching or using the painted glass for another 72 hours to ensure the paint fully cures.
2. Finishing Touches and Sealants
Apply the sealant in a well-ventilated area. Hold the spray can about 12 inches away from the surface and apply a light, even coat. Allow the first layer to dry for 15-20 minutes before applying a second coat.
For items that will be handled frequently or exposed to moisture, multiple layers of sealant might be necessary. Each layer should be allowed to dry completely before adding the next one.
Finally, handle your sealed, painted glass objects with care. Opt for gentle hand washing using mild soap and avoid abrasive materials to maintain the finish.
6 Creative Ideas and Inspirations for Glass Spray Painting Projects
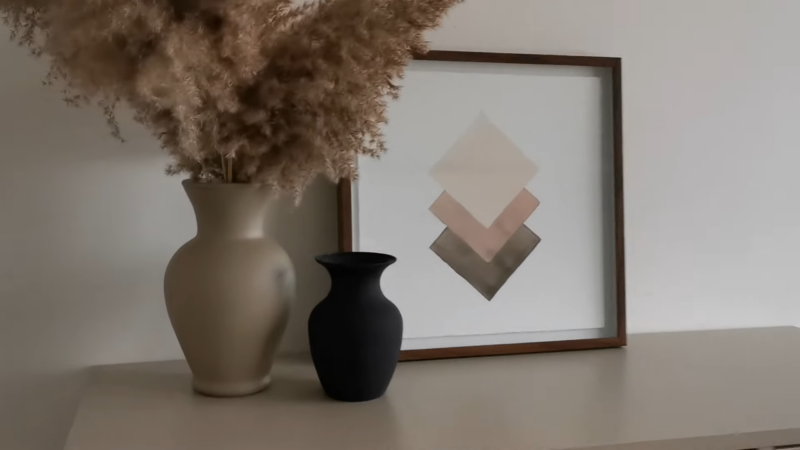
A Minimalistic Interior Decor Featuring Two Vases
1. Floral Vases
Create unique floral vases by applying spray paint with stencils. Use floral or geometric designs to give your vases a modern and personalized look.
2. Frosted Glass
Achieve a frosted effect by using frosted spray paint. This works well for windows, glass cabinet doors, or even decorative jars, adding privacy and an elegant touch.
3. Ombre Effect
Create an ombre effect for a gradient color transition. Start with a lighter color at the top and gradually add a darker shade toward the bottom. This technique is eye-catching for glass bottles or candle holders.
4. Mirror Spray Paint
Use mirror spray paint to turn ordinary glass into a reflective surface. This is ideal for creating DIY mirrors or shiny, decorative pieces.
It’s a quick way to enhance any room’s decor, and while you’re at it, consider patching any minor imperfections in your walls with a simple drywall repair.
5. Holiday Themes
Update your décor according to the season or upcoming holidays. Use red and green for Christmas-themed glassware or orange and black for Halloween. Adding some glitter spray paint can make the decorations more festive.
6. Metallic Accents
Add sophistication to your glass items with metallic paint like gold, silver, or bronze. Use these accents on things like picture frames or centerpiece bowls to elevate their appearance.