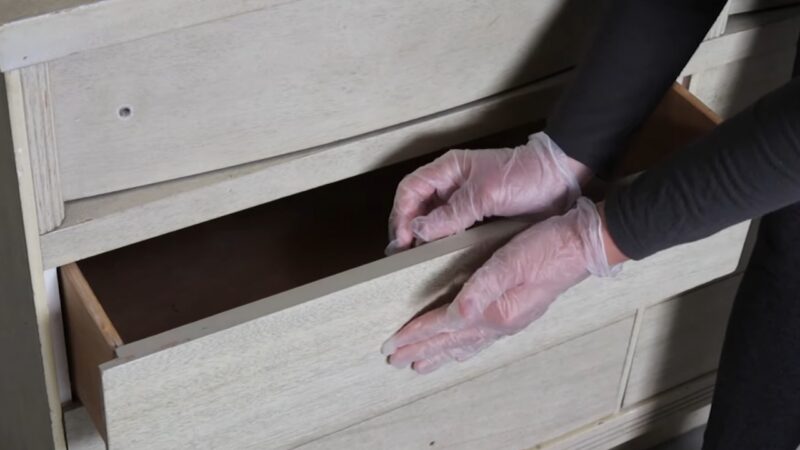
Filling these holes is a straightforward process that can restore the cabinet’s appearance and make it ready for new hardware.
This task not only improves the aesthetic appeal of the cabinets but also prepares them for a fresh, polished look.
The process involves simple steps that even someone with minimal DIY experience can handle smoothly.
Tools and materials such as wood filler, putty knives, and sandpaper are typically used to ensure a seamless finish.
With the right approach, you can easily fill screw holes and give your cabinets a new lease on life without the need for professional help.
Filling Screw Holes with Wood Filler
1. Preparing the Surface
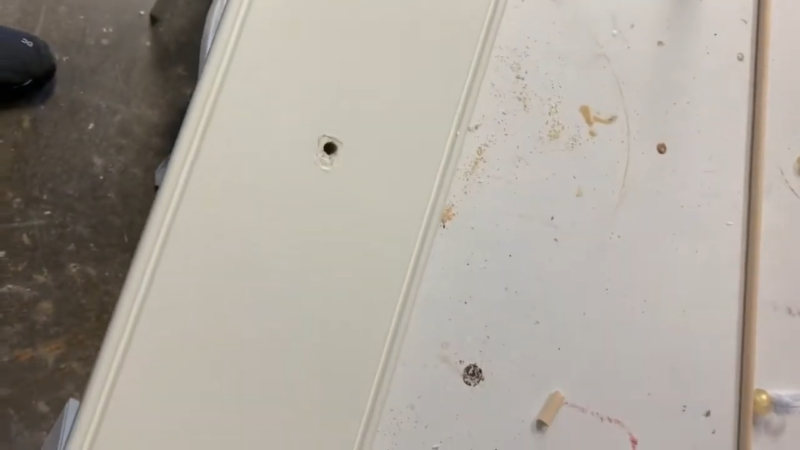
Proper preparation ensures that the wood filler adheres well and results in a lasting repair. Follow these steps to ready the surface:
- Clean the Area: Use a soft brush or dry cloth to remove any dust or loose debris around the screw hole.
- Sand the Surface: Lightly sand the area around the hole with 220-grit sandpaper. This roughens the surface, helping the filler bond better.
- Wipe off Dust: After sanding, use a damp cloth to wipe away any remaining dust. Allow the surface to dry completely before proceeding.
2. Applying the Wood Filler
Once the surface is prepped, you’re ready to apply the wood filler. Follow these steps for a smooth and even repair:
- Gather Materials: Use a putty knife and a quality wood filler appropriate for your project.
- Fill the Hole: Scoop a small amount of wood filler onto the putty knife and press it into the screw hole, ensuring the gap is fully filled.
- Slightly overfill the hole to account for sanding later.
- Allow to Dry: Refer to the manufacturer’s instructions for drying times, as they can vary based on the filler type.
Step
Action
Surface Cleaning
Brush away dust and debris from around the screw hole.
Sanding
Lightly sand the area with 220-grit sandpaper to roughen the surface.
Filling the Hole
Use a putty knife to press the filler into the screw hole, slightly overfilling.
Drying
Allow the filler to dry based on the manufacturer’s recommended time.
3. Finishing the Repair

After the wood filler has dried, it’s important to ensure a smooth and seamless surface. Complete the repair with these final steps:
- Sand the Filler: Use sandpaper to smooth out the dried filler, leveling it with the surrounding surface.
- If the first application isn’t perfectly flush, you can apply a second layer and repeat the drying and sanding process.
- Remove Dust: Once sanding is complete, brush off any remaining dust to assess the repair.
Using Wood Plugs or Dowels
1. Choosing the Correct Size
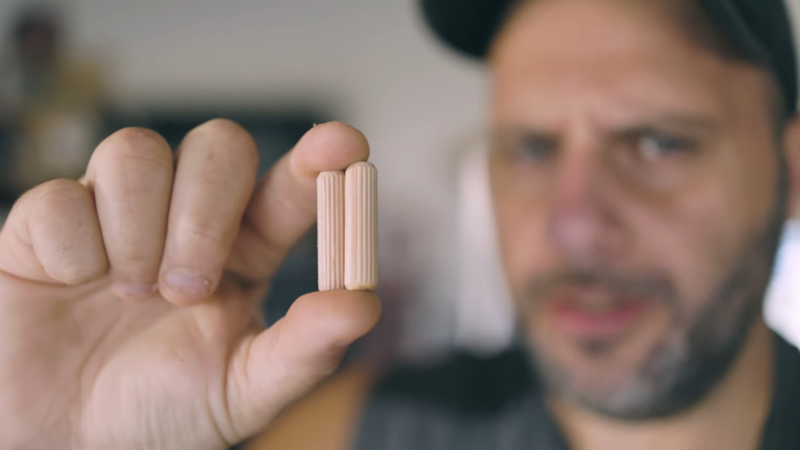
Selecting the appropriate size of wood plugs or dowels is key to achieving a seamless, professional result. Here are some guidelines:
Measure the Hole
- Use a caliper to measure the diameter of the screw hole for accuracy.
- If the hole is irregular, opt for a slightly larger plug or dowel and sand it down to fit snugly.
Match the Depth
- For deeper holes, dowels are often the better choice, as they can fill the space more effectively.
- Wood plugs work well for shallower holes and can be cut to match the wood type for a natural look.
Hole Depth
Preferred Filler
Shallow
Wood Plugs
Deep
Dowels
2. Securing the Plugs or Dowels
Follow these steps for the best results:
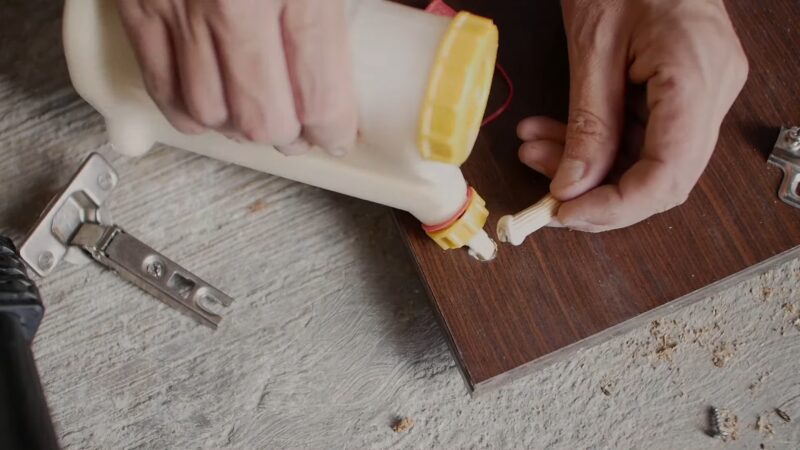
Apply Wood Glue
- Coat the sides of the plug or dowel with a thin layer of wood glue to create a strong bond.
Insert the Plug or Dowel
- Carefully insert the plug or dowel into the hole, ensuring it fits tightly.
- Use a mallet or hammer to gently tap the plug or dowel into place, taking care not to damage the surrounding wood.
Let the Glue Dry
- Allow the glue to fully dry based on the manufacturer’s instructions before moving on to the next step.
Step
Action
Glue Application
Apply a thin layer of wood glue around the plug or dowel.
Inserting the Plug/Dowel
Insert and gently tap the plug/dowel into the hole with a mallet or hammer.
Drying Time
Let the glue dry completely before sanding.
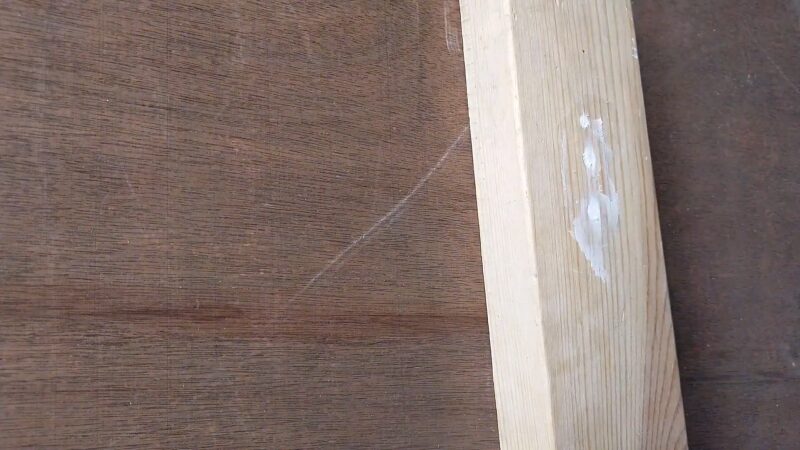
3. Finishing the Repair
Once the plug or dowel is securely in place, finishing the surface is essential for a smooth, unnoticeable repair.
Sanding
- After the glue has dried, use sandpaper to smooth the plug or dowel so it is flush with the surrounding surface.
- Sand in the direction of the wood grain for the best results.
Assess the Finish
- Ensure the repaired area blends naturally with the cabinet door, both in texture and appearance.
- If necessary, apply a matching wood stain or finish to enhance the repair’s seamless look.
Using Wood Putty for a Quick Fix
Steps
- Surface Cleaning: Ensure the area around the screw hole is free of debris.
- Apply Wood Putty: Press a small amount of wood putty into the hole using your fingers or a putty knife.
- Smooth the Surface: Use a putty knife to level the putty flush with the surrounding surface.
- Finishing: Since wood putty does not require sanding, allow it to dry and then paint or stain as needed for a cohesive look.
Using an Epoxy Wood Repair Kit
Epoxy is a strong, durable material perfect for larger or irregularly shaped screw holes. It’s particularly useful when strength and longevity are important.
Steps
- Mixing the Epoxy: Follow the manufacturer’s instructions to mix the epoxy resin and hardener.
- Filling the Hole: Apply the epoxy mixture into the screw hole using a putty knife or spatula.
- Allow to Cure: Epoxy takes longer to dry than wood filler, so let it cure completely according to the product instructions.
- Sanding: Once cured, sand the epoxy flush with the surrounding surface.
- Finishing Touches: Apply paint or stain to blend the repair seamlessly with the cabinet door.
Using Toothpicks and Glue for Small Holes
For smaller screw holes or when you’re reattaching hardware in the same location, toothpicks and glue offer an easy, effective solution.
Steps
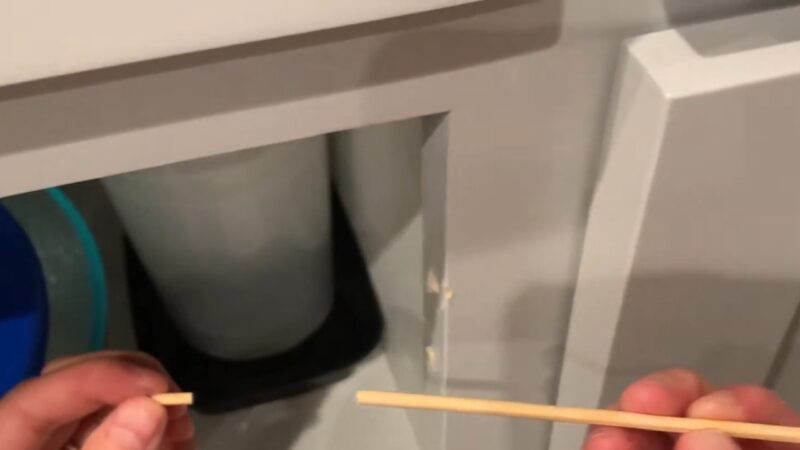
- Insert Toothpicks: Apply wood glue to the ends of a few toothpicks and insert them into the hole.
- Fill the Hole: Push in as many toothpicks as needed to fill the hole completely.
- Snip the Excess: Once the glue has dried, use a utility knife or scissors to cut off any excess toothpicks.
- Sanding: Lightly sand the area until it’s smooth and flush with the surrounding wood.
Using a Combination of Glue and Sawdust
This method combines glue and fine sawdust to create a custom filler, perfect for holes that are smaller or require minimal materials.
Steps
- Create the Mixture: Collect sawdust from the same type of wood and mix it with wood glue to create a thick paste.
- Fill the Hole: Press the sawdust and glue mixture into the screw hole using a putty knife.
- Allow to Dry: Let the mixture dry thoroughly before sanding.
- Sanding: Once dry, sand the surface smooth for a natural-looking repair.
This technique is ideal for matching the exact color and texture of the cabinet wood, especially when staining.
Using Wax Sticks for Small, Cosmetic Repairs
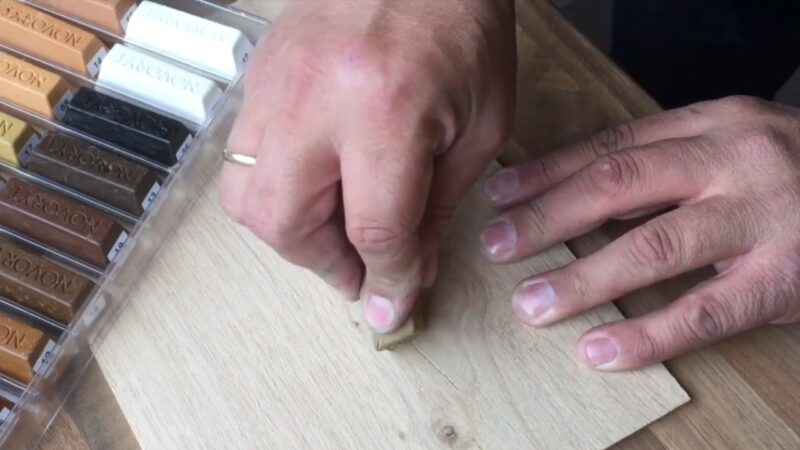
Wax sticks are a quick, no-mess solution for filling small screw holes or cracks. This method is great for minor cosmetic fixes rather than structural repairs.
Steps
- Choose the Right Color: Select a wax stick that closely matches the color of your cabinet wood. This simple fix can refresh your kitchen without a major renovation, bringing new life to your cabinets.
- Fill the Hole: Rub the wax stick over the hole until it’s filled.
- Smooth the Surface: Use a soft cloth to buff the filled hole, removing any excess wax and ensuring a smooth finish.