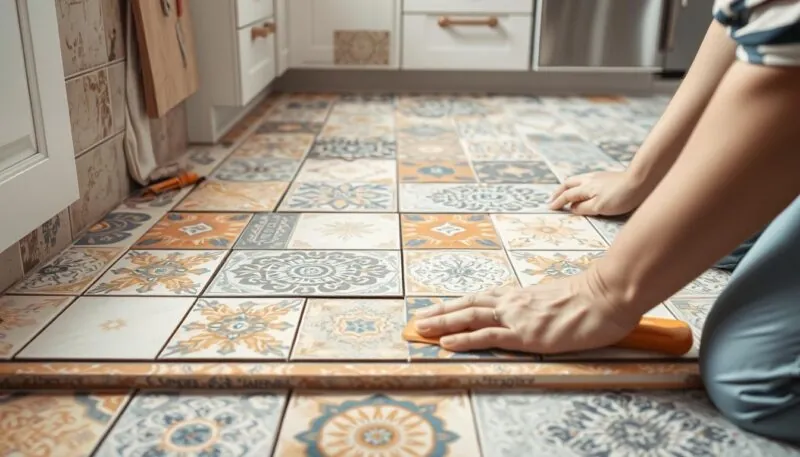
Laying tile over tile can be an efficient way to refresh spaces such as bathrooms and kitchens without the need for labor-intensive removal of old tiles. When executed properly, this method can save you time and energy while delivering long-term durability. However, it’s vital to consider several factors before proceeding to ensure a successful installation.
Before taking the plunge, it’s important to perform a thorough flooring inspection. You need to confirm that the existing tiles are stable, free from cracks, and don’t have moisture issues. If the foundational surface is compromised, the new installation may falter. Additionally, consider whether the added height will interfere with doors and other room elements. Seeking professional consultation can offer valuable guidance if any doubts arise.
Understanding the intricacies of laying tile over tile can empower you to make informed decisions. From assessing the current condition of the existing tiles to selecting the right materials, each step plays a crucial role in the outcome of your project. Without further ado, let’s dive into the detailed process that will help you achieve a flawless tile-over-tile installation.
Assessing the Existing Tile
Before embarking on your tile-over-tile project, it is essential to thoroughly assess the condition of the existing tiles. This will help you avoid common mistakes and ensure a successful installation. Understanding the various types of tile suitable for this process, as well as proper adhesive options and safety precautions, will enhance the durability and appearance of your new tiles.
Inspecting Tile Condition
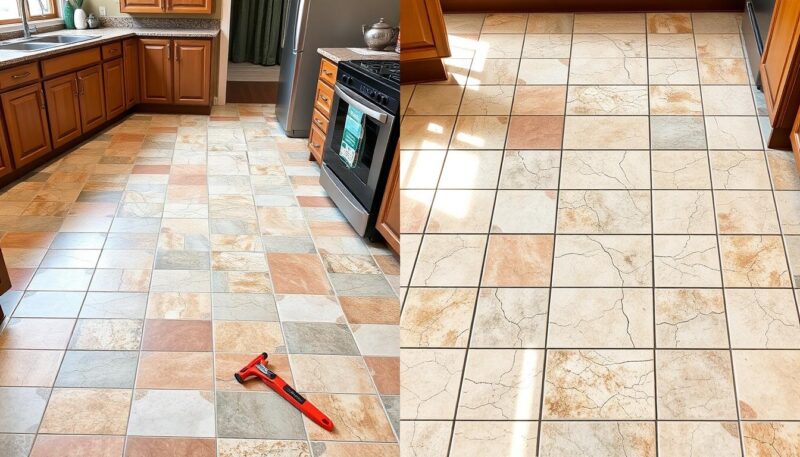
Start by examining the current tiles for cracks, chips, or wear. If your tiles show extensive damage, it’s better to remove them and start anew. Inspecting the tile condition will help you determine whether the old tiles can support the new layer without causing future problems.
Testing Tile Adhesion and Stability
Lightly tap on each tile to check for hollow sounds, which indicate weak adhesion. Tiles that are not well-bonded can cause instability in your new installation. Ensuring strong adhesion is critical in avoiding common mistakes during the process. Consider all adhesive options to secure the tile properly, with thin-set mortar as a reliable choice.
Leveling and Surface Integrity
Use a level to check for surface irregularities. Even minor imperfections can compromise the installation. An uneven surface risks tiles lifting up later, potentially causing damage. Always strive for a level surface and pay attention to safety precautions to secure a solid foundation.
Moisture and Leak Checks
One of the most crucial steps involves checking for moisture and any potential leaks. Use a moisture meter to ensure the underlying area is dry, as moisture can damage both old and new tiles over time. Addressing moisture issues promptly will prevent the new installation from failing and helps in avoiding common mistakes.
| Assessment Area | Recommended Actions |
|---|---|
| Tile Condition | Remove and replace extensively damaged tiles. |
| Adhesion | Check for hollow sounds; secure or replace weak tiles. |
| Surface Integrity | Ensure the surface is level to avoid lifting tiles. |
| Moisture | Use a moisture meter to detect dryness; fix leaks immediately. |
Taking these essential steps will prepare your current tiles for a flawless new layer, optimizing the use of adhesive options and applying proper safety precautions. Success lies in meticulous assessment and preparation, ensuring a lasting and visually appealing finish.
Surface Preparation for Laying Tile Over Tile
Proper surface preparation is vital for the success of laying tile over tile. Understanding and executing the right preparation steps ensures a strong bond and durable finish.
Cleaning and Sanding the Surface
Start by thoroughly cleaning the existing tile surface using a multi-purpose cleaner. Removing dirt, grime, and any soap scum is essential. Sand any glossy or smooth finishes to create a texture that helps the new adhesive bond better.
Applying the Bonding Primer
Applying a bonding primer such as ECO Prim Grip is crucial. This primer enhances adhesion on non-porous surfaces, ensuring your new tiles adhere securely.
Choosing the Right Adhesive
Selecting the correct adhesive is paramount. For moisture-prone areas, an epoxy mortar is recommended due to its moisture-resistant and strong bonding qualities. This consideration aligns with moisture barrier requirements to avoid future issues.
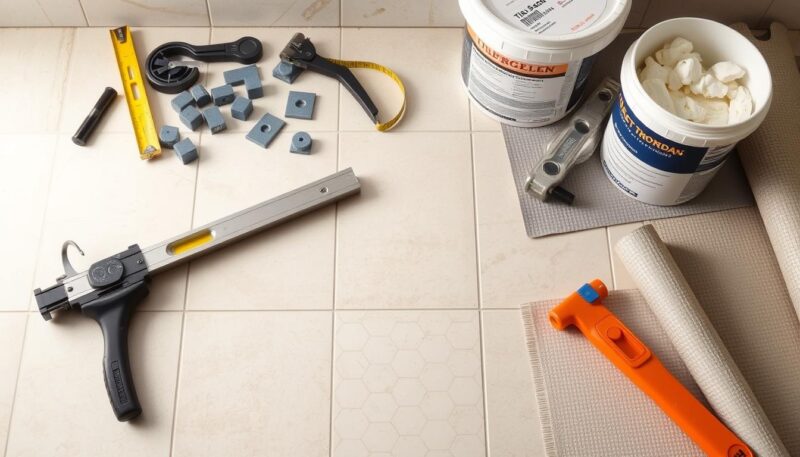
Tools Required for Preparation
Having the right tools is essential for proper preparation. You’ll need:
- Multi-purpose cleaner
- Sandpaper
- Bonding primer
- Trowel
- Level
| Preparation Step | Tool/Material Needed | Purpose |
|---|---|---|
| Cleaning Surface | Multi-purpose cleaner | Remove dirt and grime |
| Sanding Surface | Sandpaper | Create texture for adhesion |
| Applying Primer | Bonding primer | Enhance adhesion on non-porous surfaces |
| Applying Adhesive | Trowel | Even application of adhesive |
| Checking Level | Level | Ensure surface is even |
Ensuring you follow these preparation steps and have the correct tools required will significantly impact the success of your tiling project, giving you a long-lasting and aesthetically pleasing result.
Benefits and Drawbacks of Installing Tile Over Tile
Installing tile over tile has become an increasingly popular option due to its impressive range of benefits and drawbacks. One of the primary benefits is that it is a cost-effective update. Instead of incurring high labor costs and the expenses associated with hiring professionals to remove existing tiles, you can achieve a fresh look by simply layering new tiles over the old ones. This method also emphasizes eco-friendly practices by reducing waste and avoiding the need for disposal of old materials, aligning with sustainable home improvement trends.
Another significant advantage is the notable project time reduction. Since the process eliminates the time-consuming task of removing old tiles, you can rejuvenate your space in a shorter timeframe. This contributes to quicker project completion and less disruption to your daily routine. Additionally, this technique minimizes the dust and debris typically associated with extensive renovations, making it a cleaner and more convenient choice.
However, the approach of tiling over tile does come with its set of considerations. Height and weight are critical aspects to evaluate. Adding a layer of tiles increases the floor height, which might necessitate adjustments to doors and cupboards. An average floor is raised by approximately 3 cm, so precise measuring is essential to avoid misalignments. The improper handling of these adjustments can lead to future repairs and unintended structural impacts.
The risk of improper adhesion is another potential drawback. If the underlying tiles are not properly inspected for stability and adherence, this could result in longevity issues with the new tiles. Hence, a thorough evaluation, including checking for hollow sounds and leveling uneven surfaces, is crucial. Ignoring this step might compromise the durability of the new installation, making professional advice and precise preparation indispensable for success.
When it comes to adhesives, different finishes demand specific products. For instance, matt finish tiles may use Novatex Uni Nova, while gloss finishes might require a combination of Novatex Optimus primer and TW60 adhesive. Consulting with local tile experts, such as those available at Tile Wizards stores, ensures you choose the right products and techniques for your particular project.
Thus, while tiling over tile offers cost-effective updates and an eco-friendly approach, understanding the full range of benefits and drawbacks helps you make an informed decision. Careful planning and professional guidance are key to transforming your space efficiently and beautifully.
Conclusion
Laying tile over existing tile can be a feasible solution when done with careful planning and precise execution. While this approach might not be recommended by experts for a longer-lasting installation, it can still be successful under the right circumstances, especially for smaller or thinner tiles in good condition. Conducting thorough assessments of the existing tile’s condition, ensuring proper adhesion, and preparing the surface meticulously are critical steps for a successful tile installation. Remember, utilizing suitable adhesives like modified thin-set mortar and proceeding with caution to avoid potential issues such as uneven surfaces or additional height and weight can make a significant difference.
Engaging in DIY tiling projects can be budget-friendly and provide satisfaction from personal accomplishment. However, recognizing when to seek professional help is equally important, particularly for complex projects that might involve intricate cuts or challenging surfaces. Professionals can offer invaluable expertise, potentially saving you from pitfalls and ensuring a high-quality result. Keep in mind, issues like loosening of old tiles or inadequate adhesion can still arise, so safety precautions and proper techniques should always be your priority.
In conclusion, whether you choose to undertake a DIY tiling project or hire professional help, understanding the technicalities and challenges is vital. Always aim for a well-prepared surface, use the right materials, and follow industry best practices. As you embark on your tiling journey, these comprehensive guidelines will assist you in achieving a durable and aesthetically pleasing upgrade for your home.


