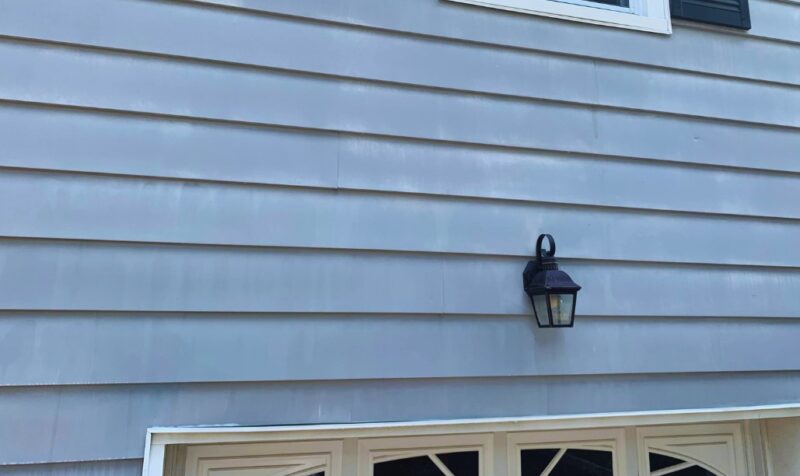
Aluminum siding is a popular choice for home exteriors due to its durability, affordability, and relatively low maintenance.
Over time, though, aluminum siding can accumulate dirt, mildew, oxidation, and other grime, which dulls its appearance.
Regular cleaning is essential to maintain the look and longevity of your aluminum siding.
Follow this detailed, no-nonsense guide to clean your aluminum siding safely and effectively.
Step 1 – Gather Your Materials
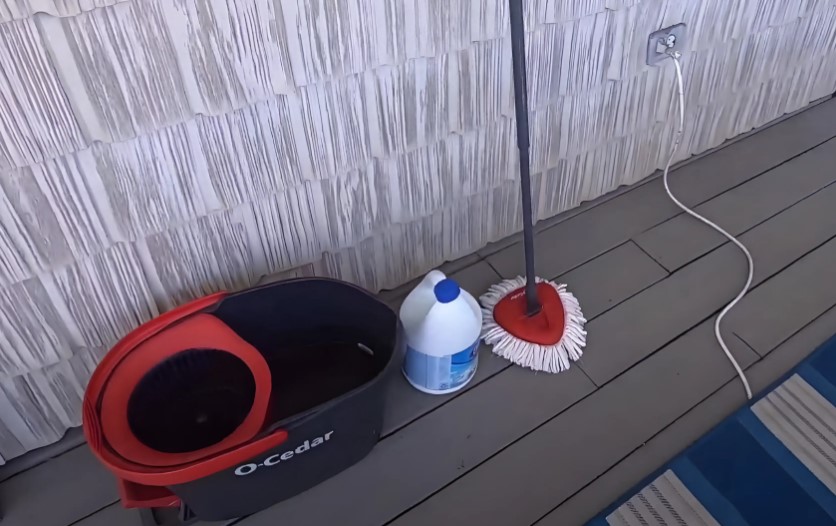
Before you start, having the right tools and materials is essential for efficiency and safety. Here’s what you need:
- Garden Hose with a spray nozzle (or a pressure washer if available)
- Bucket for mixing cleaning solutions
- Soft-Bristled Brush or sponge (avoid hard bristles to prevent scratching)
- Mild Detergent or a specialized aluminum siding cleaner
- White Vinegar or Bleach (optional for mildew removal)
- Ladder (for higher areas)
- Safety Gear: rubber gloves, goggles, and a mask if using bleach
Step 2 – Inspect and Prepare the Area
Inspect the Siding
Walk around the house to check for any visible damage, like loose panels, dents, or chipped paint. Minor damages should be repaired before cleaning to prevent further deterioration.
Protect Nearby Plants and Furniture
Move any outdoor furniture and cover plants or delicate flowers to prevent damage from splashing cleaning solutions.
Close Windows and Doors
Make sure all windows and doors are securely closed to prevent water or cleaning solution from entering your home.
Step 3 – Pre-Rinse the Siding
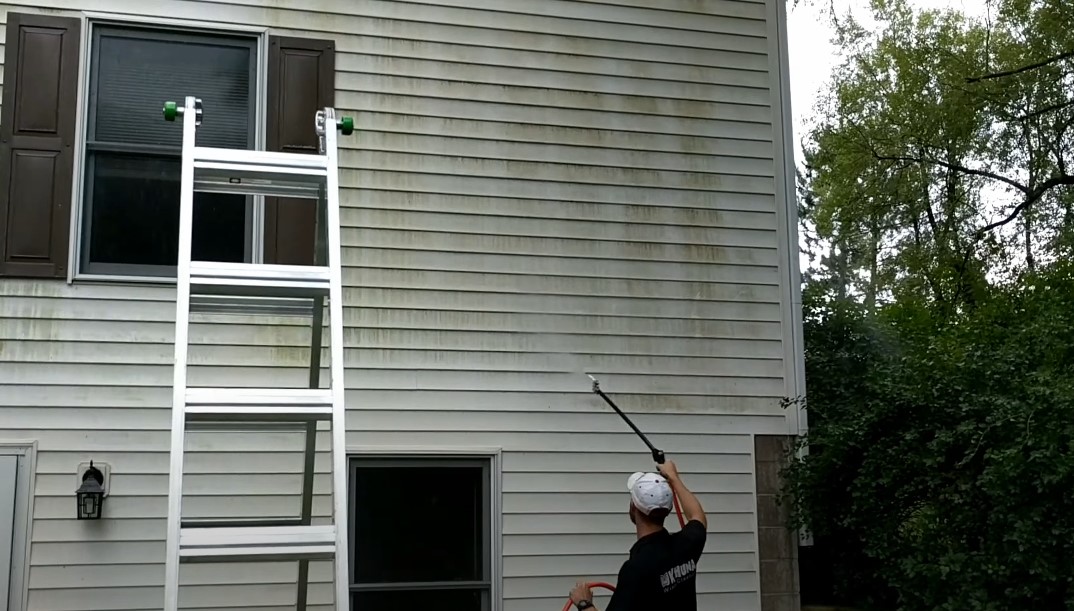
To pre-rinse the siding effectively, begin by selecting the right tool.
A garden hose with a spray nozzle is typically sufficient for most aluminum siding, but if the buildup is heavy or if the siding hasn’t been cleaned in a long time, using a pressure washer on a low setting can be beneficial.
Be cautious with the pressure, as high-pressure streams can potentially dent or damage aluminum surfaces.
When rinsing, it’s essential to start at the top of each section and work your way downward. Spraying from the top helps prevent streaks by allowing dirt and debris to flow down naturally rather than running over areas you’ve already rinsed.
This top-to-bottom approach ensures that grime and soap won’t settle on freshly cleaned spots, while gravity aids in washing everything downward, leaving the siding uniformly prepped for deeper cleaning.
Step 4 – Prepare the Cleaning Solution
There are several options for cleaning solutions, depending on the extent of dirt and stains:
- Mild Soap Solution: Mix about 1/4 cup of mild dish soap or laundry detergent with a gallon of warm water. This solution is effective for general dirt and grime.
- Vinegar Solution: For a natural alternative, mix one part white vinegar with one part water. Vinegar is effective for removing light mildew stains.
- Bleach Solution: For heavier mildew or mold, use a solution of 1/3 cup bleach per gallon of water. Avoid mixing bleach with other chemicals, especially ammonia, as this can produce toxic fumes.
Step 5 – Apply the Cleaning Solution
- Start from the Bottom: Begin applying the cleaning solution from the bottom of the siding and work your way up. This prevents streaks, which can occur if the solution dries before you rinse it.
- Use a Soft Brush or Sponge: Dip your brush or sponge into the cleaning solution, then gently scrub the siding in a circular motion. Avoid scrubbing too hard, as this can damage the paint or siding finish. The same technique applies when cleaning varnished wood.
- Work in Sections: Clean one manageable section at a time, particularly if the area is large. This helps you keep track of your progress and ensures thorough cleaning.
Step 6 – Rinse Thoroughly
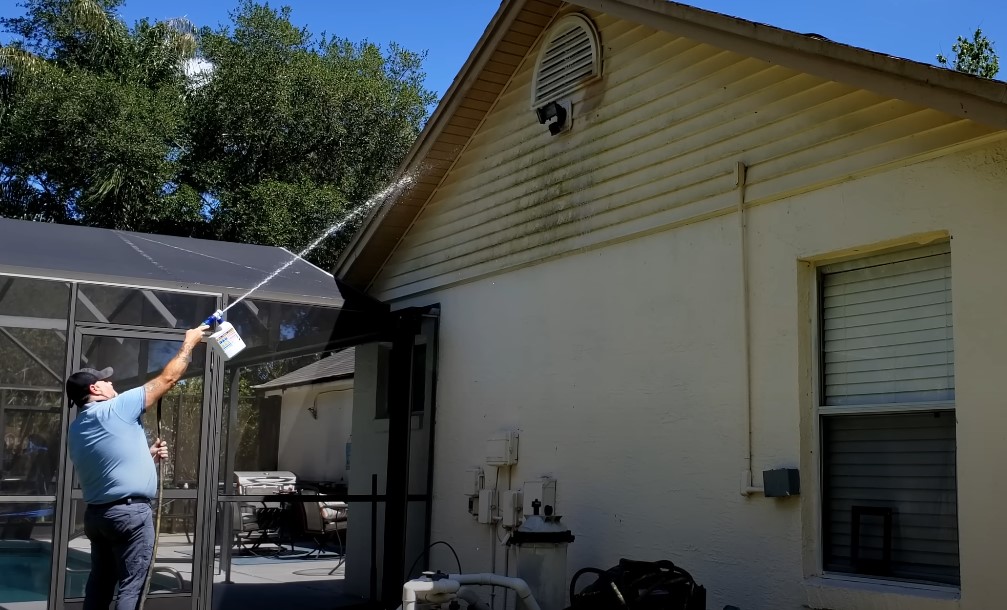
Once you’ve finished scrubbing each section of the siding, it’s essential to rinse thoroughly to remove any cleaning solution.
Use a garden hose or a pressure washer, ensuring the pressure setting is low to prevent any risk of denting or damaging the aluminum.
Start at the top of the siding and work your way down to ensure all cleaning solution flows downward and doesn’t create streaks.
Pay attention to each area as you rinse to make sure no soap residue remains on the siding, as leftover soap can attract dirt more quickly and reduce the effectiveness of your cleaning.
Step 7 – Addressing Stubborn Stains and Oxidation
@allbritenc Can this siding be restored ❓#oxidation #restore #pressurewashing #wilmingtonnc ♬ Timeless – Franksille
After the initial cleaning, you may notice stubborn stains or oxidation, often seen as a white chalky residue on aluminum siding. Tackling these requires a bit of extra attention. If you have a cleaner designed for oxidation, apply it following the manufacturer’s instructions, as these products are specifically formulated to treat this issue without harming the siding.
For smaller areas of oxidation, a simple baking soda paste can be effective.
Mix baking soda with a little water until it forms a thick paste, apply it to the affected area with a soft cloth, rub gently, and rinse thoroughly. If mildew or mold stains persist despite the initial cleaning, consider reapplying a diluted bleach solution.
Allow the bleach solution to sit on the surface for a few minutes before scrubbing again, focusing on problem areas. With these steps, your aluminum siding will be free from lingering stains and chalky buildup, giving it a refreshed appearance.
Step 8 – Dry and Inspect the Siding
After rinsing, let the siding air dry.
Walk around the house again to inspect the results. Make sure there are no missed spots or lingering stains.
If you find any, repeat the scrubbing and rinsing process as needed.
Optional Step
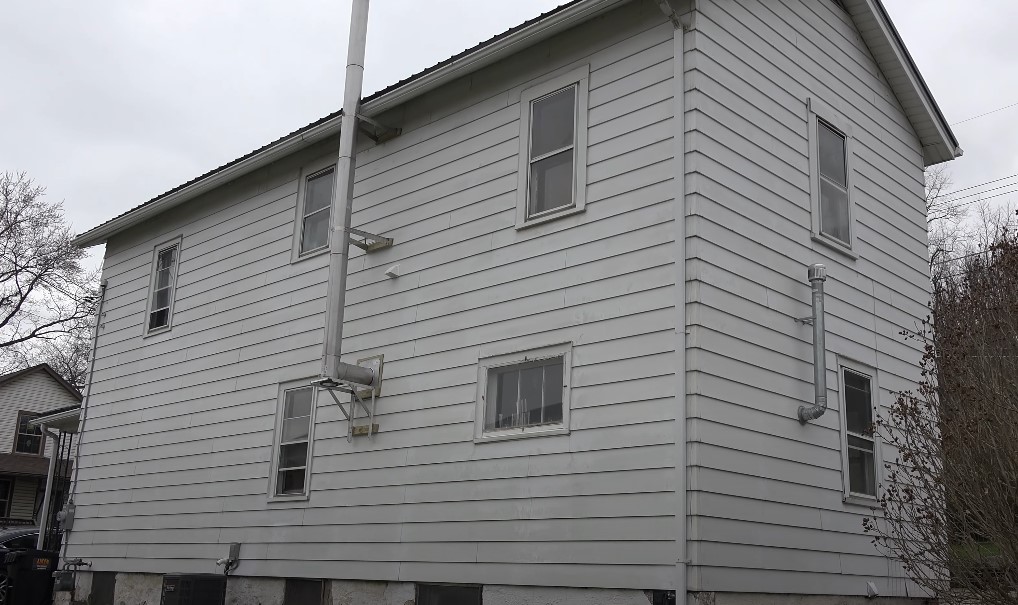
Applying a protective finish is not required, but it can help prolong the cleanliness and lifespan of your aluminum siding.
Look for a siding protectant or a wax designed for metal exteriors, and apply it according to the manufacturer’s instructions.
Common Mistakes to Avoid
- Using Abrasive Materials: Avoid steel wool, harsh scrub brushes, or any abrasive cleaning tools. These can scratch and damage the siding, leading to future corrosion.
- Skipping Rinsing: Leaving soap or bleach residue on aluminum siding can attract dirt and degrade the finish over time. Always rinse thoroughly.
- Using Harsh Chemicals: Strong chemicals can erode the paint and weaken the siding’s finish. Stick to mild detergents, vinegar, or a diluted bleach solution for safe cleaning.
When to Consider Professional Help
If your siding hasn’t been cleaned in years or has extensive oxidation, mildew, or staining, hiring a professional cleaning service might be a good option. Professionals have access to industry-grade cleaners and equipment to handle even the most stubborn stains and dirt buildup. Look for a reputable service with experience in cleaning aluminum siding to ensure safe and effective results.

