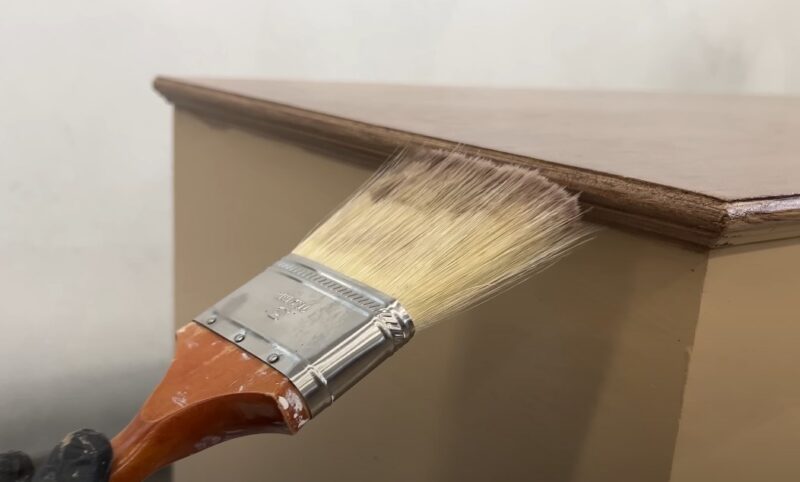
Ever stared at that old, glossy wood finish in your home and wished you could just paint over it?
The good news is—you can! Painting over varnished wood is a fantastic way to refresh your space, but it’s not as simple as slapping on a coat of paint.
Varnish creates a slick, protective layer that paint won’t stick to unless you prep the surface right.
Now, we’ll reveal some tips to help you transform varnished wood into a beautiful, lasting paint finish without peeling, flaking, or frustration.
Ready to give your wood surfaces a fresh new look?
Table of Contents
Toggle1. Assess the Condition of the Surface
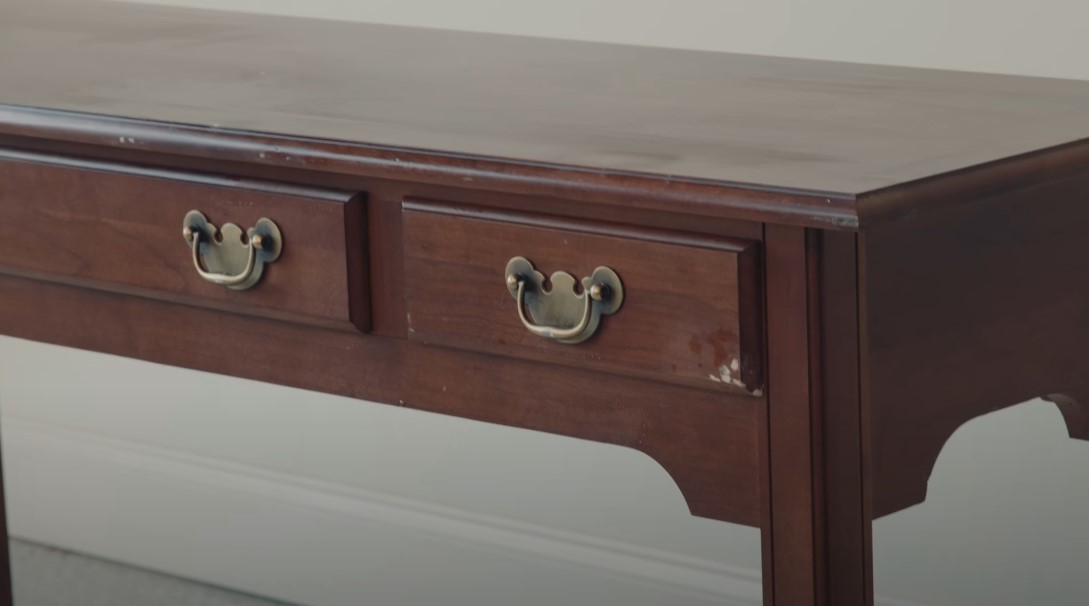
Before beginning any prep work, closely examine the varnished surface for signs of damage, such as cracks, peeling, or moisture stains.
Damaged wood will need repairs before you proceed, as painting over defects will only worsen them over time.
Repairing chips, filling cracks, and treating stains ensures a solid foundation for your paint. Also, learn how to stain plywood.
Why This Matters:
Even the best primer won’t mask imperfections. Painting over damaged varnish can lead to visible flaws and reduce the durability of your final finish.
Taking the time for thorough assessment and repair guarantees a smooth, professional-looking result.
2. Clean the Surface Thoroughly
Varnished surfaces accumulate dust, grime, and oils, all of which can interfere with paint adhesion.
Cleaning removes these contaminants and provides a smoother surface to work with.
Use a gentle cleaner and a damp cloth to wipe down the wood, ensuring it is free of dust and residue.
Best Cleaning Practices:
Avoid harsh chemicals or abrasive cleaners that could damage the wood.
A mild soap solution is usually sufficient. After cleaning, let the surface dry completely before moving on to sanding.
3. Sand the Surface to Remove Gloss
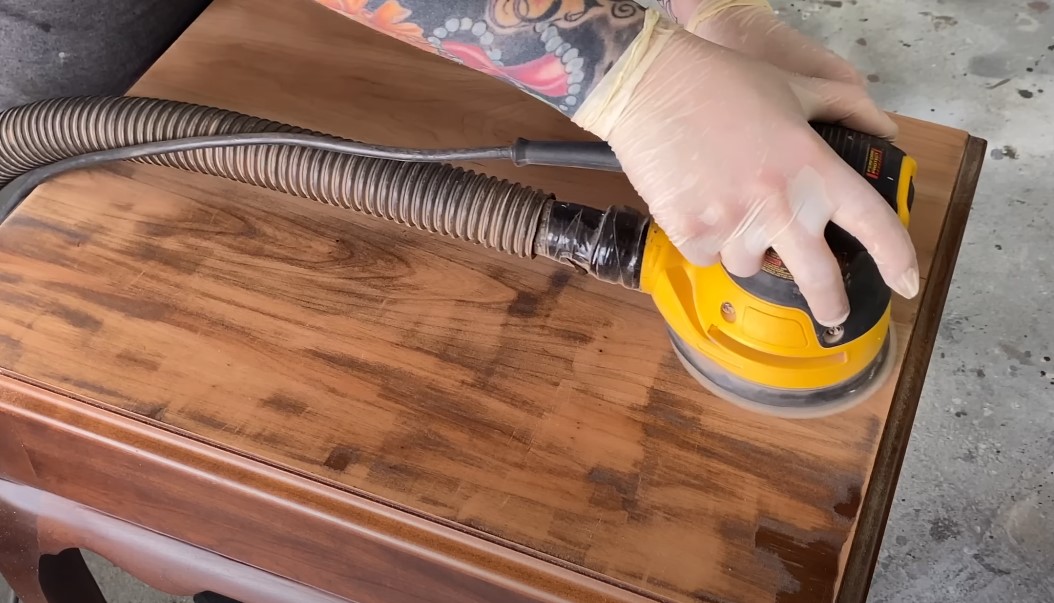
Varnish has a glossy finish that resists paint. Sanding is essential for breaking through the varnish’s top layer, which creates a rougher texture for the paint to grip onto.
Use 120- to 150-grit sandpaper for this task, either with a sanding block or an orbital sander, depending on the size and shape of the surface.
Sanding Tips:
- Sand in even, consistent strokes to avoid an uneven surface.
- Check periodically to ensure the gloss is removed but avoid sanding down to bare wood.
- After sanding, use a damp cloth to remove dust and let the surface dry completely.
4. Choose the Right Primer for the Job
Applying a primer specifically formulated for varnished wood is crucial.
Not all primers bond well to varnish, so selecting the correct one is essential to ensure adhesion and durability. Here are some primer types commonly used:
- Oil-Based Primers: Ideal for maximum bonding. They provide strong adhesion and durability but can have higher VOC levels.
- Shellac Primers: Good for sealing stains and odors, but are often high in VOCs. These are typically reserved for problem areas.
- Water-Based Bonding Primers: A low-VOC alternative suitable for various surfaces. INSL-X Stix is a popular choice for varnished wood.
5. Apply Primer Evenly in Multiple Thin Coats
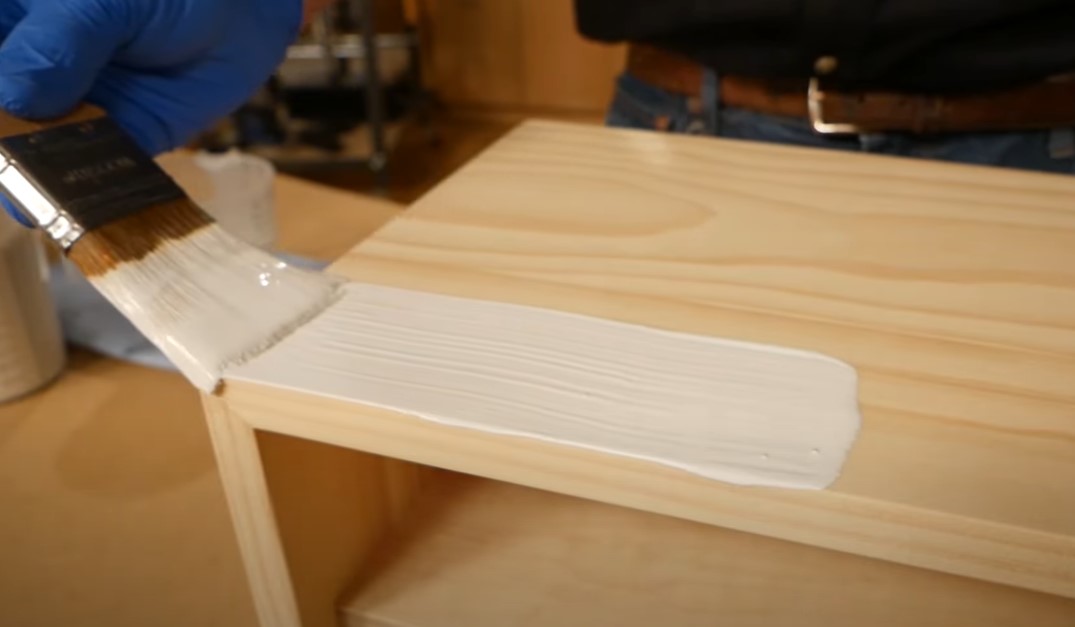
Rather than applying a single thick coat of primer, use multiple thin coats.
Thin coats are less likely to cause drips and promote even coverage, reducing the risk of peeling or flaking down the line.
Allow each coat to dry completely before adding the next to ensure a smooth and consistent surface.
Expert Tip:
If you’re working in high-humidity areas, invest in a high-quality primer that resists moisture to prevent adhesion issues.
6. Select the Right Paint for Varnished Surfaces
Once priming is complete, it’s essential to choose a high-quality paint compatible with your primer and suitable for the intended use.
Certain areas, like kitchens and bathrooms, require paint that withstands moisture, while furniture and cabinets benefit from durable, high-sheen finishes.
Recommended Paints:
- Benjamin Moore Advance: A water-based enamel paint with low VOCs and a hard, durable finish, perfect for furniture and cabinetry.
- Sherwin Williams Emerald Trim Urethane Enamel: Offers excellent adhesion and durability, especially in high-traffic areas.
Matching your paint type with the primer ensures optimal bonding and longevity, preventing peeling or chipping over time.
7. Use the Right Painting Tools for a Professional Finish
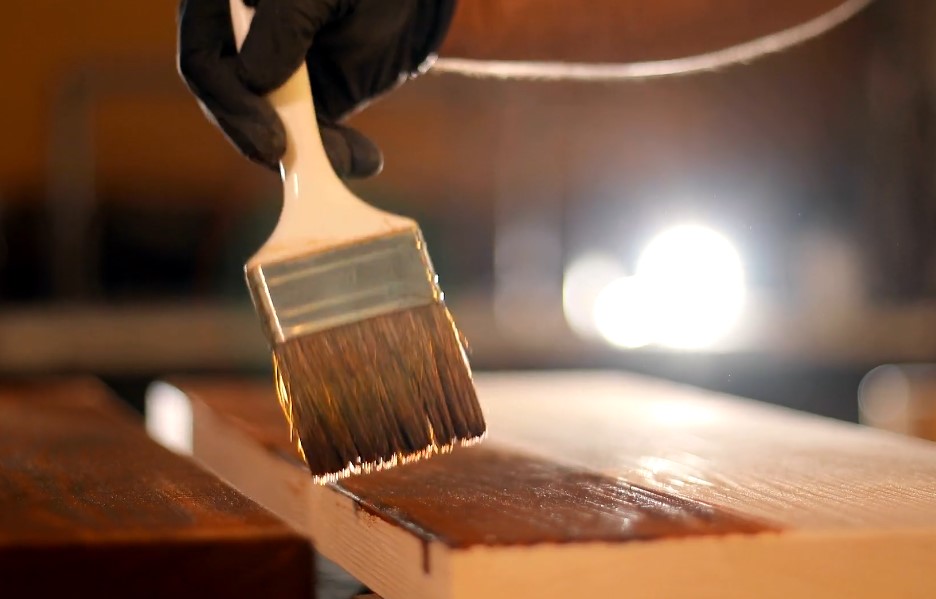
The tools you use are just as important as the paint and primer in achieving a smooth, professional-looking finish on varnished wood.
For varnished surfaces, select high-quality brushes or rollers specifically designed for smooth finishes to ensure even coverage without streaks or visible brush marks.
Tool Selection Tips:
- Use a small angled brush for detailed areas and corners.
- For large flat surfaces, a foam roller can help achieve an even, streak-free finish.
Investing in quality tools reduces the risk of brush marks and uneven texture, resulting in a professional appearance.
8. Allow Ample Drying Time Between Coats
Rushing through the drying process is a common mistake that can compromise your results.
Each coat of paint should be fully dry before applying the next, as this helps prevent cracking, bubbling, or peeling.
Follow the manufacturer’s guidelines on drying times, which may vary depending on paint type and environmental factors.
Drying Guidelines:
Most latex-based paints require 2-4 hours to dry, while oil-based paints may need 24 hours between coats.
Be patient, as drying thoroughly will yield a stronger, more resilient finish.
9. Address Common Challenges with Careful Preparation
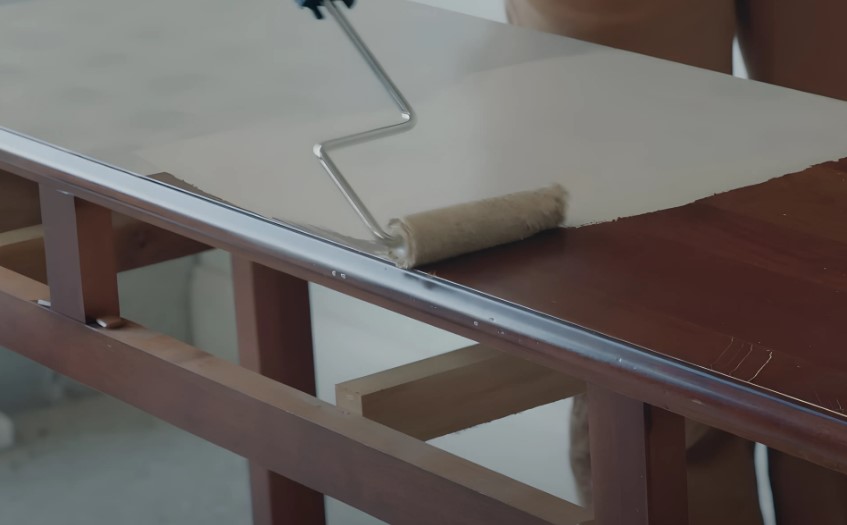
Even with the best preparation, you may face some challenges when painting over varnished surfaces.
Below are a few common issues and solutions:
- Uneven Coverage: This often happens if the surface wasn’t sanded or primed thoroughly. Sand down any glossy spots and re-prime if necessary.
- Adhesion Problems: If the paint isn’t sticking well, the primer may not be compatible, or the surface may not be dry enough. Re-sand problem areas and apply a primer compatible with your paint.
10. Maintain Painted Surfaces to Prolong the Finish
Once your varnished wood is successfully painted, maintenance is key to prolonging the life and look of the surface.
Painted wood is prone to wear over time, particularly in high-traffic areas or humid environments.
Maintenance Tips:
- Regular Cleaning: Use a soft cloth and mild detergent to clean the surface periodically.
- Avoid Harsh Chemicals: Strong cleaning agents, steam, and hot water can weaken paint and primer bonds, causing peeling.
- Touch Up as Needed: Inspect the painted surface regularly and address any small chips or scratches before they become bigger issues.
Related Posts:
- Can You Lay Tile Over Tile? Tips for a Successful…
- How to Clean Wood Stove Glass for a Crystal-Clear…
- How to Tile Over a Brick Fireplace - Beginner’s Guide
- How to Clean Downspouts to Prevent Water Damage?…
- Preparing Your Home for a Long Absence -…
- How to Start a Home Improvement Blog - 10 Tips for Success

