How to Remove a Kitchen Tile Backsplash – Step-by-Step Guide

Removing an outdated or damaged kitchen tile backsplash is a practical and transformative home improvement project.

Over time, tile backsplashes can become worn, chipped, or simply fall out of style. Refreshing this area can rejuvenate your kitchen, making it feel brand new.

While the task may seem daunting, with the right approach, tools, and safety precautions, it’s a manageable DIY project.

Before diving in, remember that safety is paramount—wearing safety glasses, gloves, and appropriate clothing will protect you from sharp tile shards and other potential hazards during the removal process.

1. Tools and Materials Required

Removing tile backsplash

To successfully remove a kitchen tile backsplash, having the correct tools and materials is crucial to ensure the job is done efficiently and safely.

The first step is to equip yourself with essential safety gear. Safety glasses are vital for protecting your eyes from flying debris, while sturdy gloves shield your hands from sharp edges and jagged tiles.

Wearing a long-sleeve shirt, pants, and sturdy boots further minimizes the risk of injury, providing an extra layer of protection against potential hazards.

For the actual tile removal, basic tools are a must. A pry bar is essential for gaining leverage to pull tiles away from the wall, and a utility knife is invaluable for making precise cuts, especially when dealing with caulk and grout.

A hammer or rubber mallet allows you to apply controlled force where necessary, particularly when dealing with stubborn tiles.

Basic Tools:

  • Pry bar
  • Utility knife
  • Hammer or rubber mallet
  • Putty knife or 6-in-1 painter’s tool

Beyond the basics, certain additional tools can streamline the process and make it more efficient. A caulk removal tool, for example, simplifies the task of removing old caulk, which is often found around the edges of tiles.

A multi-tool equipped with a grout removal blade is useful for breaking the bond between tiles and the wall, ensuring a smoother removal process.

A shop vacuum is another handy tool to keep your workspace clean, quickly sucking up dust, debris, and small tile pieces, which not only keeps the area tidy but also reduces the risk of slipping or tripping on loose materials.

Additional Tools and Protective Materials:

  • Caulk removal tool
  • Multi-tool with a grout removal blade
  • Shop vacuum
  • Drop cloths, cardboard, plastic sheeting, and painter’s tape for surface protection

Don’t overlook the importance of protective materials.

Drop cloths, cardboard, and plastic sheeting are essential for covering countertops, floors, and nearby surfaces, shielding them from damage during the tile removal process.

Use painter’s tape to secure these coverings, ensuring they stay in place as you work.

Properly preparing your space with these materials not only protects your kitchen from unnecessary damage but also makes the cleanup process much more manageable once the tile removal is complete.

2. Preparing the Area

Kitchen tile removal

Properly preparing your kitchen before removing the tile backsplash is essential for a smooth and safe process.

Start by turning off the electricity to any backsplash outlet to avoid accidents. 
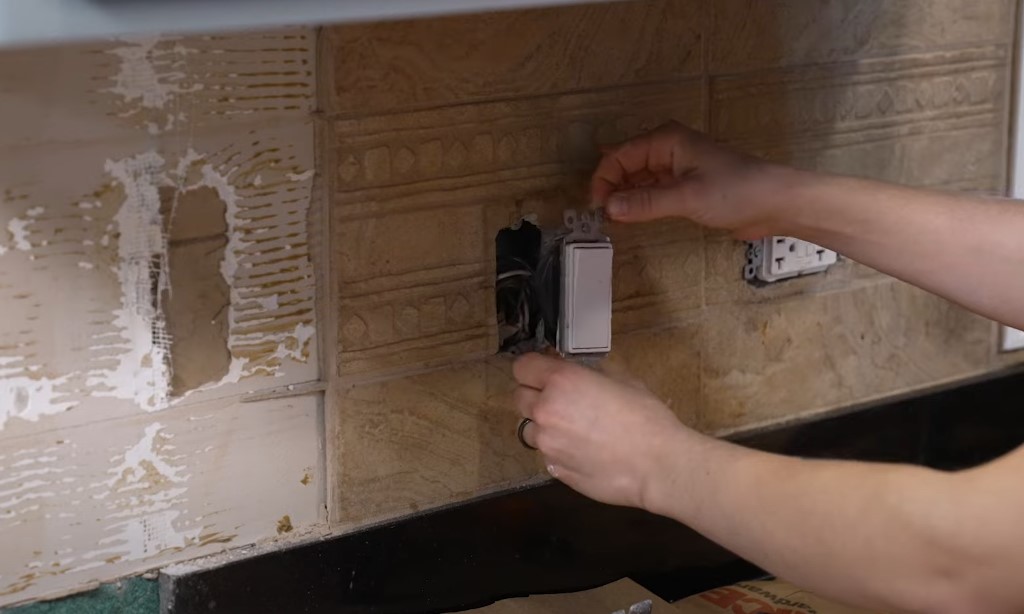
Next, remove any obstructions that could hinder your work.

It includes taking off outlet covers and trim, which can be done with a screwdriver and pry bar.

In some cases, you might need to remove cabinets or other fixtures to gain better access to the backsplash, though this step is optional and depends on your specific kitchen setup.

Once the area is clear, focus on protecting your kitchen’s surfaces. Cover your countertops and floors with cardboard and plastic sheeting to shield them from falling debris and potential damage.

Secure these protective materials with painter’s tape to prevent them from moving during the removal process.

Taking these precautions will protect your kitchen and make the cleanup process much easier when the project is complete.

3. Removing the Tile Backsplash

Backsplash demolition tips

Removing the tile backsplash is the most labor-intensive part of the project, but with the right approach, it can be done efficiently.

Start by assessing how the backsplash was installed. Understanding whether it was applied directly to drywall, with adhesive, or on a different surface will guide your removal process.

Once you know what you’re dealing with, begin by removing the caulk and grout.

Use a utility knife or a caulk removal tool to cut through the caulk around the tiles, and then employ a multi-tool with a grout removal blade to break the bond between the tiles and the wall.

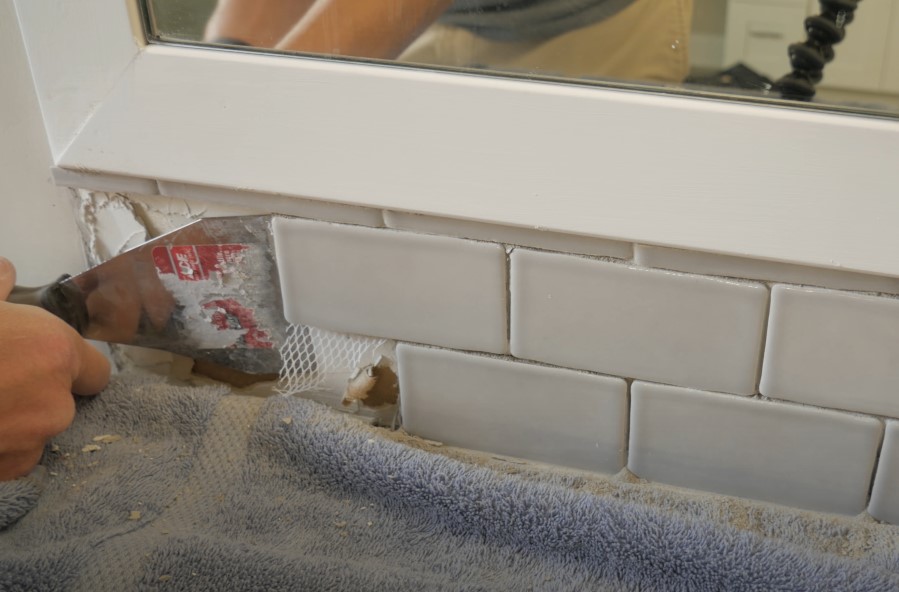
Begin removing the tiles by starting at the edges or in an inconspicuous area, such as behind appliances.

Insert the putty knife or pry bar behind a tile and gently pry it away from the wall. For tiles that are particularly stubborn, use a hammer to carefully break them into smaller pieces, making them easier to remove.

Work in small sections, taking your time to avoid causing unnecessary damage to the drywall. Keep your tools parallel to the wall as much as possible to minimize any damage.

4. Cleaning Up After Tile Removal

How to take off kitchen tiles

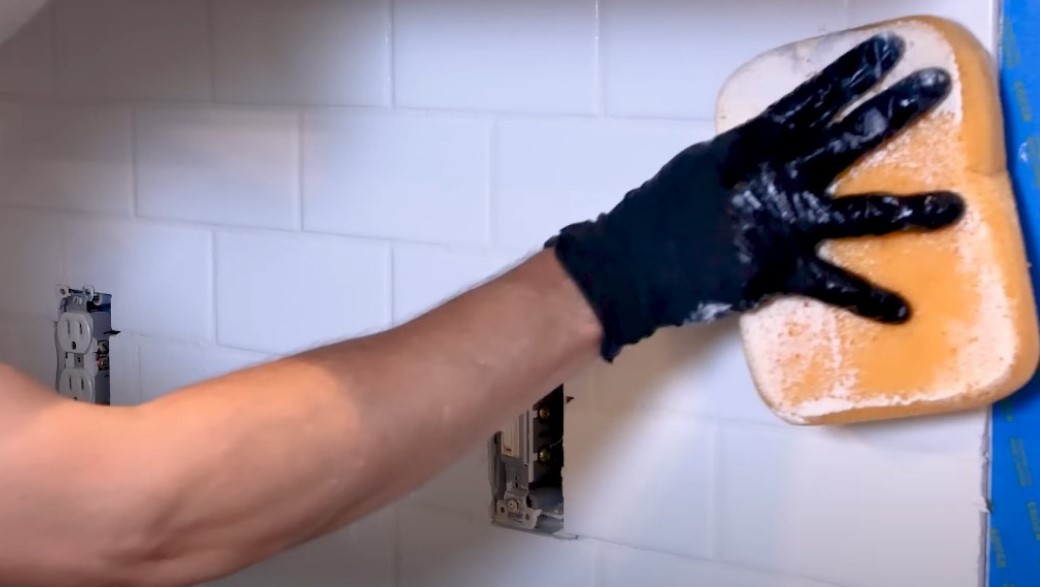
Once the tiles are removed, the next step is cleaning up the residual adhesive left on the wall. The process requires patience and attention to detail. Use a putty knife or a specialized adhesive remover to scrape off the remaining adhesive.

Be cautious during this step to avoid damaging the drywall underneath. If the adhesive is particularly stubborn, a bit of warm water and a sponge can help loosen it up, making it easier to remove.

After the adhesive is gone, inspect the wall for any damage caused during tile removal.

It’s common to find small nicks or gouges in the drywall, which will need to be repaired before proceeding with a new backsplash. Use drywall joint compound to fill in any damaged areas, applying it smoothly and evenly.

Once the compound is dry, sand it down to create a flat, even surface. Properly repairing the wall will ensure that your new backsplash adheres well and looks great.

5. Final Steps

Wall prep after tile removal

With the tiles removed and the wall repaired, you’re now in the final stages of preparing your kitchen for a brand-new backsplash. The stage is crucial, as it sets the foundation for a successful and long-lasting installation.

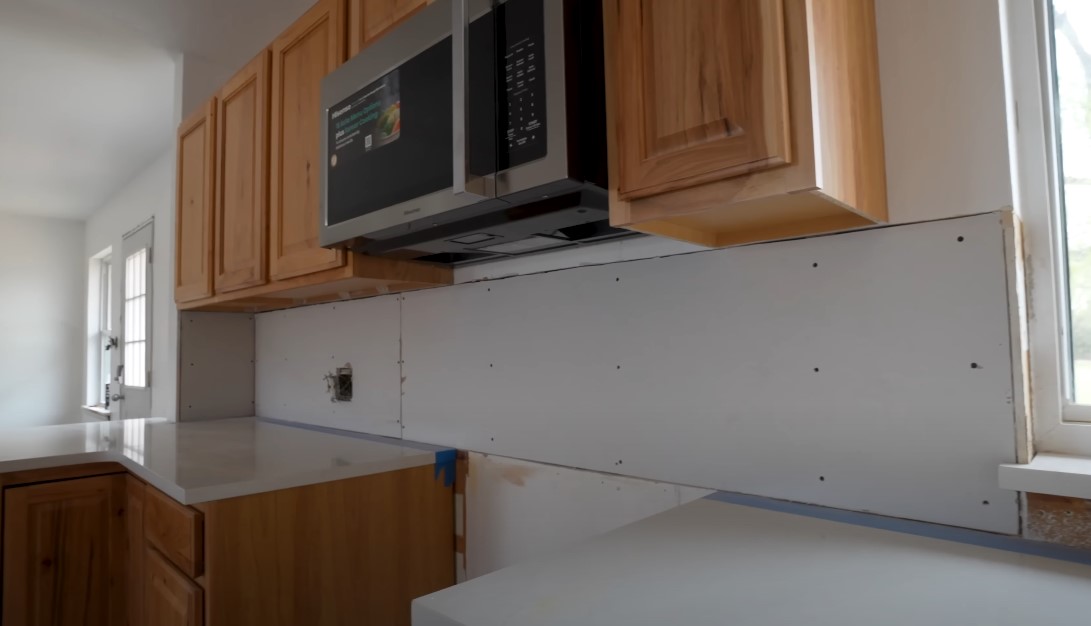
First and foremost, take the time to ensure that the wall is thoroughly cleaned and smooth.

Any residual dust, dirt, or adhesive remnants can compromise the adhesion of the new backsplash, leading to potential issues down the line. Use a damp cloth to wipe down the entire area, and allow it to dry completely before proceeding.

If you haven’t already considered it, now is the perfect time to evaluate the condition of the wall and decide whether a fresh coat of paint is necessary.

Even if the new backsplash will cover most of the wall, painting it beforehand can create a uniform look and serve as a clean backdrop for your installation.

Opting for a neutral or complementary color can enhance the overall aesthetic of your kitchen, especially in areas where the backsplash may not extend, such as above cabinets or near doorways.

Next, take some time to carefully select the new backsplash. This is your opportunity to inject your style into your kitchen and make a statement.

Consider the color scheme, texture, and overall design of your kitchen to ensure that your new backsplash complements the existing elements. Don’t rush this decision—choosing the right backsplash can dramatically transform the look and feel of your space.

The Bottom Line

Removing an outdated or damaged kitchen tile backsplash may seem challenging, but with the right tools, preparation, and patience, it’s a manageable DIY project.

By following these steps, you can ensure a smooth removal process, leaving your kitchen ready for a beautiful new backsplash. Before that, you should do some sort of preventive maintenance every now and then.

Assess your comfort level with DIY projects, take necessary safety precautions, and proceed with confidence, knowing that a refreshed kitchen is within reach.